This is the third in a series of articles for ADAPTIVE FITBUNCH. Hopefully you’re enjoying them as much as I am enjoying researching and writing them. This series is catered specifically to lower-limb amputees, as well as other adaptive athletes who are lacking lower-limb functionality. I hope to also shed light for able-bodied individuals as well, on what it’s like to train as an adaptive athlete. If you or someone you know is an upper-limb amputee and would like to Guest Post regarding fitness as it pertains to “disability”, please reach out to trevor@fitbunch.net – I’d love to turn this site into a viable resource for every adaptive athlete!
What’s a hip hinge?
The hip hinge is a fundamental human movement pattern – ever bent over to pick something up off the floor? That’s a hip hinge, well, sort of – most people have muscular imbalances and deficiencies (limited range of motion, overactive muscles, etc) that prevent them from properly engaging this movement. Unfortunately, due to the aforementioned biomechanical issues, as well as the added challenge of missing your leg(s), getting into this position can be a real pain in the ass.

Why’s it important?
If it is your desire is to become a full-time, functionally independent prosthetic user (or, if you’re not an amputee, replace “prosthetic user” with “human being”) then you need to learn and practice the hip hinge while incorporating it into your daily routine.
The hip hinge is vastly important for a number of reasons, the foremost of which are safety and injury prevention. Yes, you heard me – something that is indeed a physical challenge, is important to your own safety. Exercise can in fact be harmful if performed improperly, don’t start a physical activity regimen without first consulting a medical professional. How exactly does the hip hinge increase safety and help prevent injuries? Safety while using prosthetics involves being able to comfortably balance, requiring far more concentration than an able-bodied person needs to simply stand in place. Amputees tend to balance more dynamically, typically shifting weight around or never quite standing totally still. Challenging this “dynamic balance” will therefore mean being able to stand completely still. Learning how to properly engage the entire posterior chain – glutes, hamstrings, and lower back – through proper ranges is going to be a huge aspect of regaining strength and balance as well.
Learning the hip hinge is also going to be useful for injury prevention in that it allows you to properly mobilize the hips while sparing the lower back. Many of my clients have stories of, “I bent over to tie my shoes, and threw out my back” and “Well, I was trying to start the lawnmower and then…” (if you don’t have one personally, someone you know does). By gaining the ability to brace the abdominals (thus stabilizing the spine) and load the posterior chain, we can build strength needed to prevent those “dumb” injuries.
Not only is the ability to hip hinge crucial to balance and injury prevention, but it’s functional too. While bending over and picking an item up off the ground is generally a thoughtless task to able-bodied individuals, it can be quite a daunting task for lower-limb amputees to do the same. Actively practicing this skill is exactly what’s needed to regain this critical functionality, and the first step in doing so is to hinge!
Breaking it down
The first thing that’s needed to ensure success with the hip hinge, is a set of knees that you can trust (this applies to both amputees and able-bodied individuals – HA!) I personally use C-Leg 4 microprocessor knees, programmed and maintained by my team at Hanger Clinic in Oklahoma City, OK – as well as direct skin fit suction sockets. This is the same hardware I rely on 16+ hours a day, 7 days a week. If you are currently lacking prostheses that are up to snuff or are unsafe, you will be better off working with the regressions listed below. BEFORE YOU START LIFTING ANY SORT OF WEIGHT, MAKE SURE YOUR PROSTHESES ARE PROPERLY RATED FOR YOUR WEIGHT IN ADDITION TO THE WEIGHT YOU’RE LIFTING
First order of business regarding the hip hinge is to build a strong base. This is going to be accomplished by assuming a wide stance, feet somewhere between hip- and shoulder-width apart. Depending on your balance you can go wider or narrower, but I wouldn’t go outside of shoulder width – the mechanics and weight distribution aren’t in your favor.
Now, depending on the type of hardware you’re utilizing (knees, feet, socket), you will bend your knee minimally. I accomplish this by “putting weight in the backseat” and sticking my butt out just a bit. I do this because I have complete faith in my prosthetic setup. If you can’t completely trust your knees to not go out from underneath you, it’s worth looking at the regressions that are available to you or perhaps finding an external source of balance (a stable chair, bench, bar, etc) to hold on to, if it’ll help you avoid a fall. Properly hip hinging with locked knees is virtually impossible, so if you’re unable to stay safe, find a regression to work the same muscle groups.
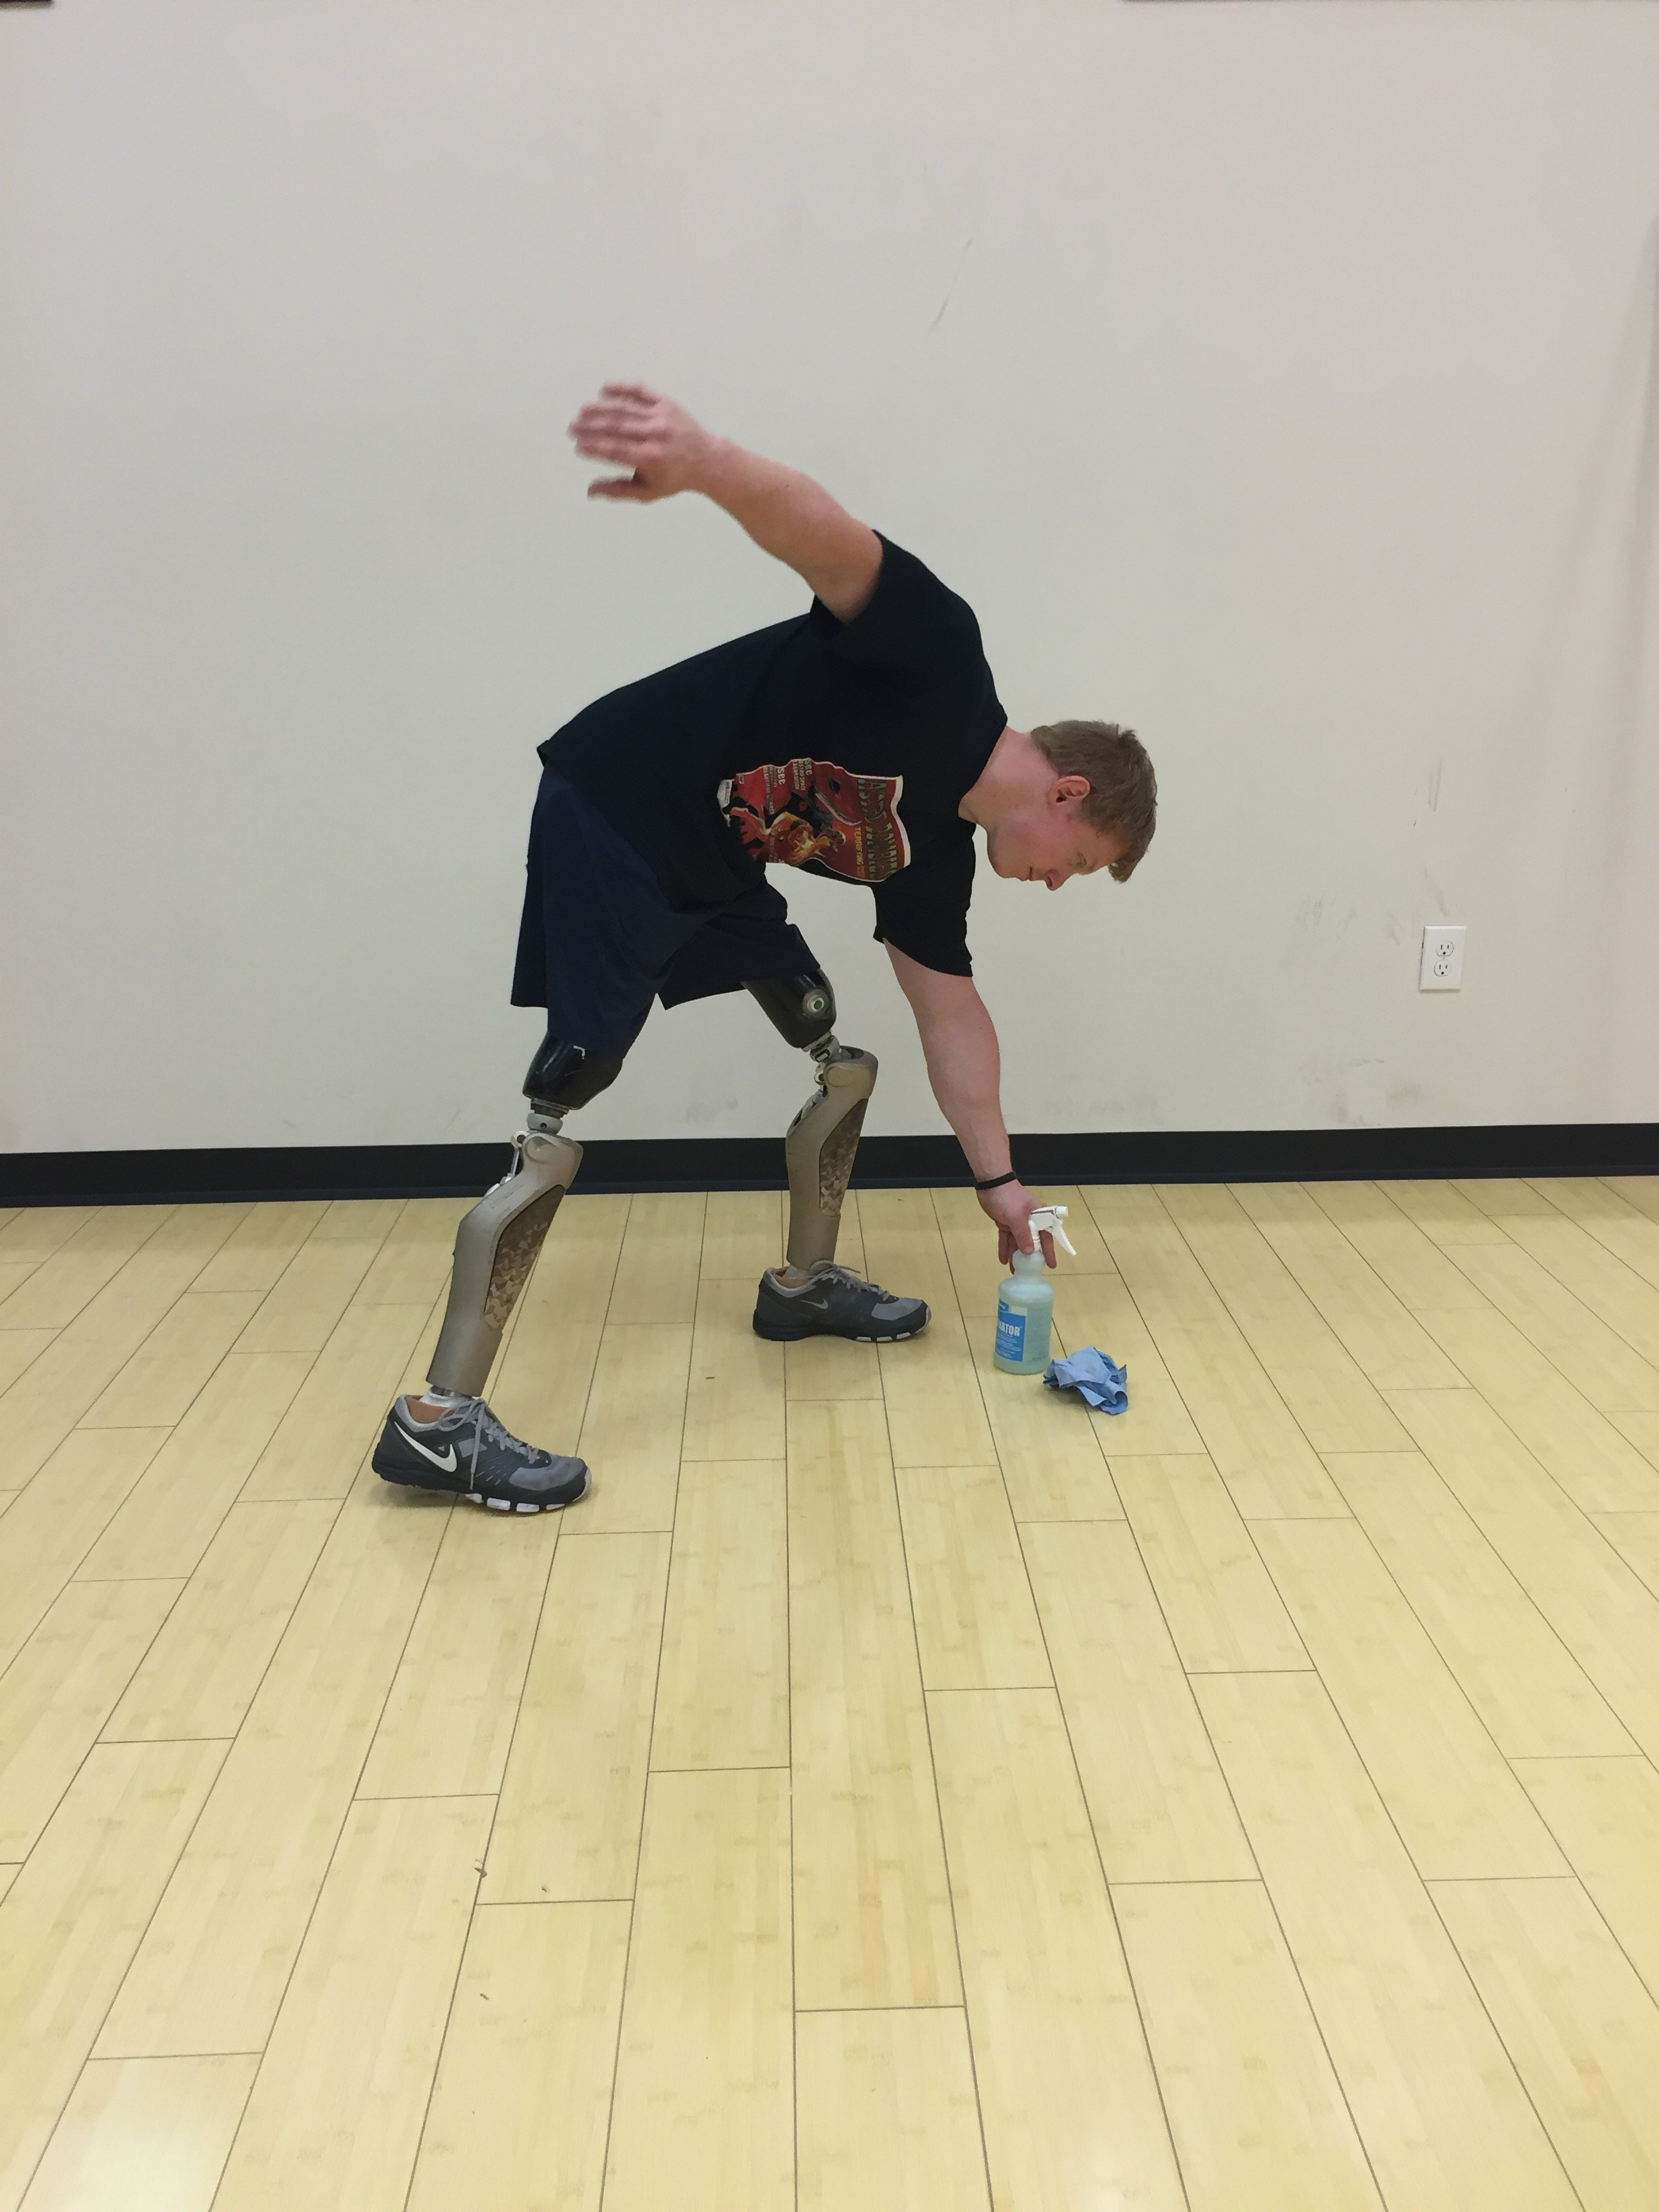
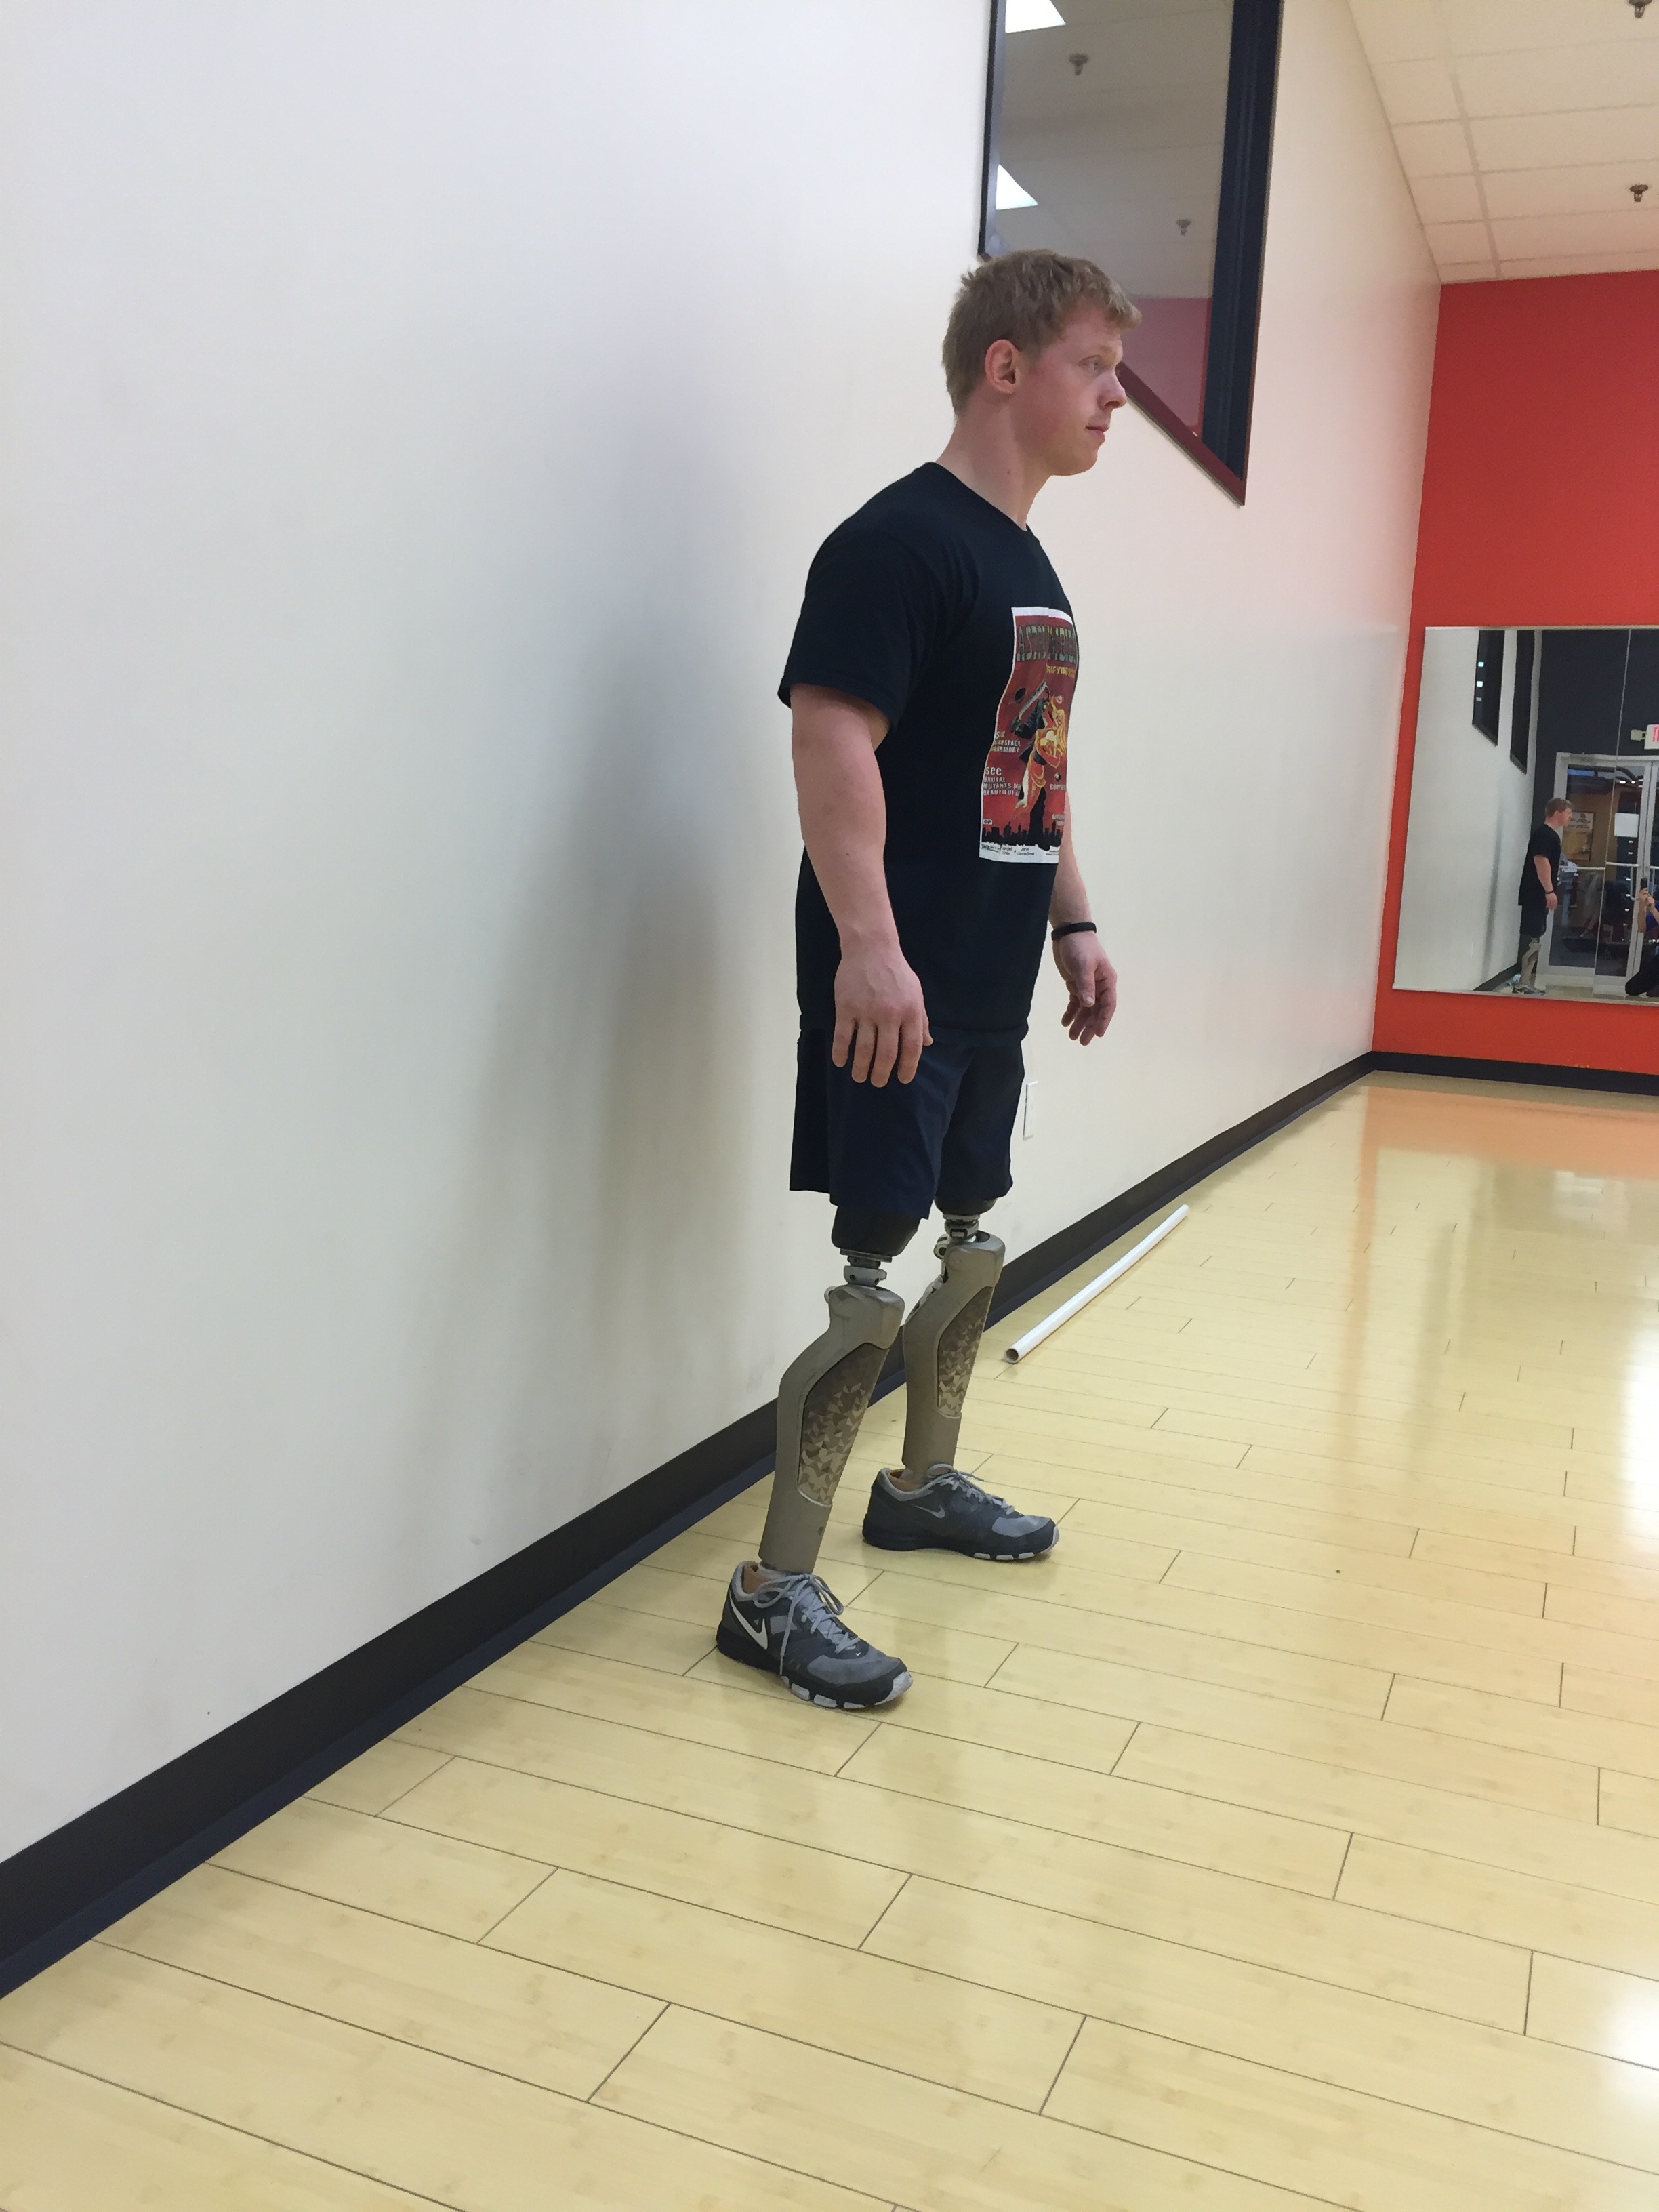
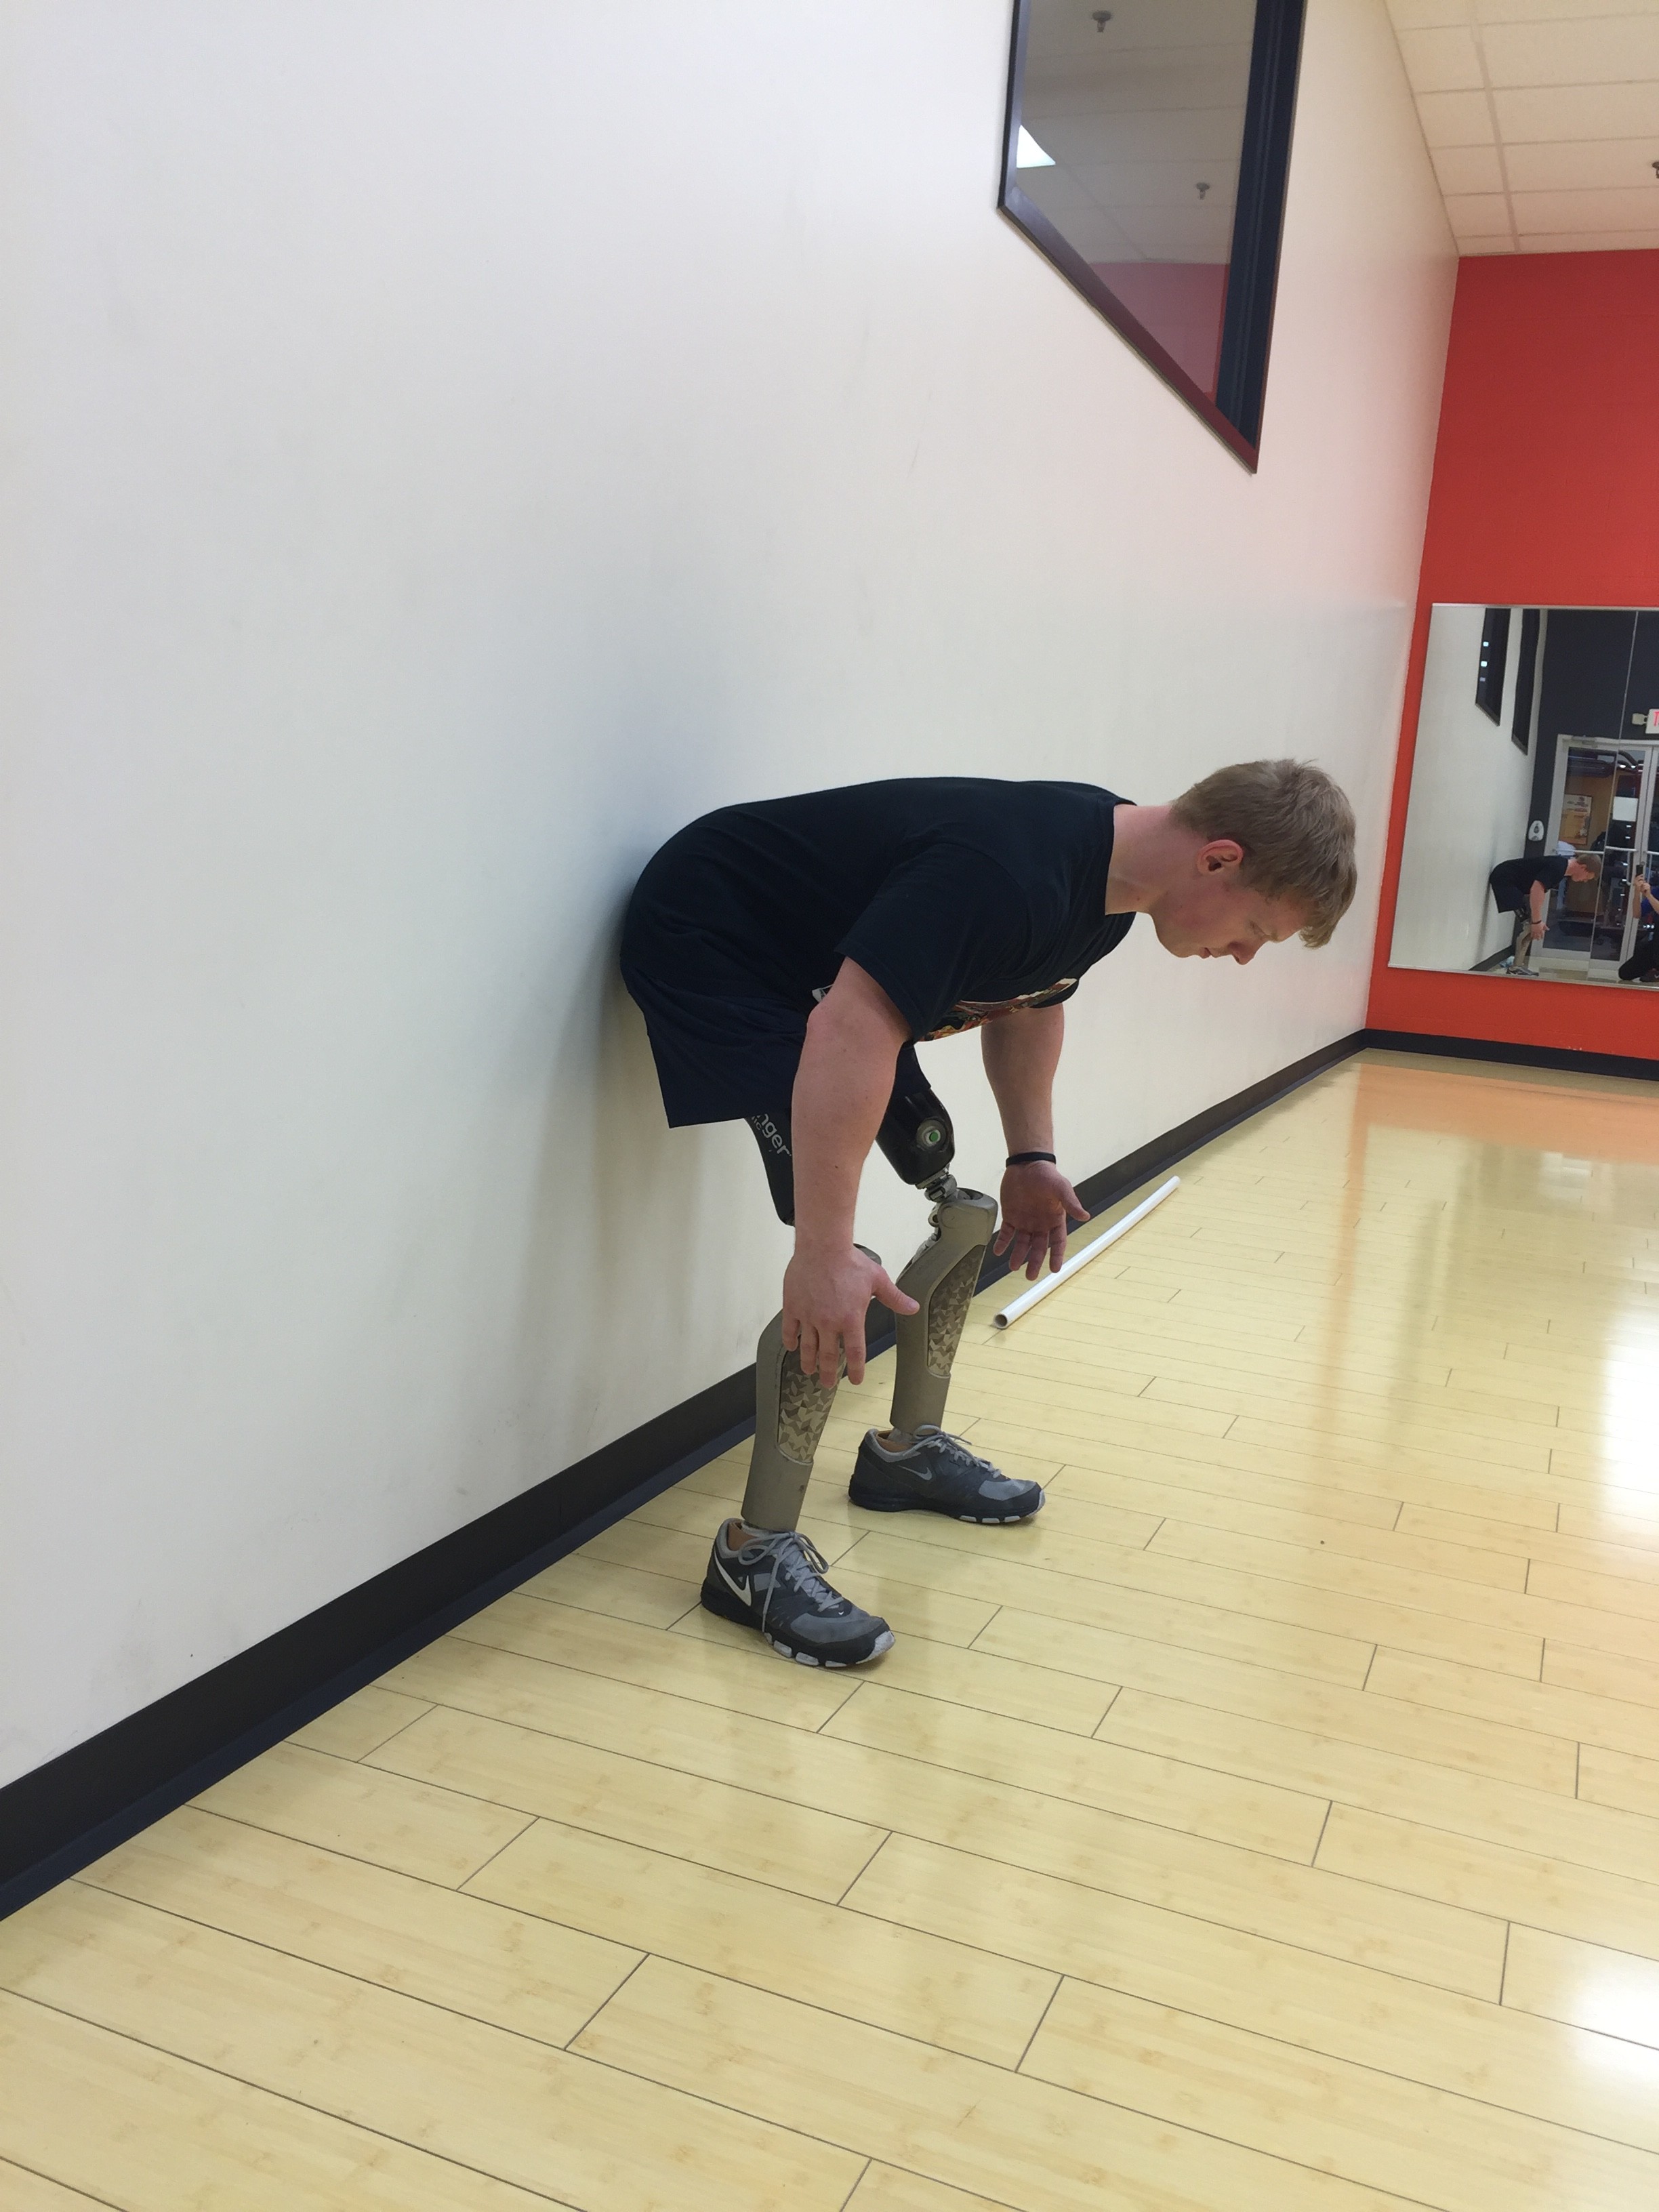
Next, the act of hinging! Your weight should be shifted to your heels, knees slightly bent. Push your butt back as though you’re closing a car door with your rear end. KEEP A NEUTRAL SPINE. What separates hinging from just bending over at the waist, is that your back will stay straight. This means absolutely minimal lumbar flexion – or bending through the low back. Don’t do it! You’ll get hurt! (Well, you may not get hurt initially, but if it’s a habit you get into, you’re going to get hurt eventually) Have someone who knows what they’re looking for (check out the photos) spot you the first time or two attempting this, to make sure you’re avoiding this compensation!

As for the rest of your body, keeping your core properly braced (think: tensing up as though someone is about to punch you in the stomach) is the most important “auxiliary” aspect of hip hinging to focus on. Keeping the core properly braced and “tight” during pretty much any movement is going to help further stabilize the spine. “Drawing in” also works well, think of pulling your belly button inwards toward your spine. The upper back, shoulders, and neck should maintain a neutral alignment as well. Avoid rounding your shoulders, or jutting your head forward during the entire hinge. If you are having a difficult time with this, you more than likely have overactive “lats” (or latissimus dorsi- the large muscles on either side of your upper back) and/or overactive “traps” (or trapezius – the muscles running from either side of your neck. These are mobility and flexibility issues that will need to be addressed individually, through specific stretching and strengthening.
Where to start?
The hip hinge takes a good amount of practice to master, but thankfully there are plenty of different movements allowing us to progress and regress. If you’re newer and not as experienced or maybe not totally comfortable with your prosthetics, start with some of the regressions listed below. However, if you’ve got decent balance, are somewhat experienced with fitness, and ready to take on a new kind of challenge, feel free to place yourself somewhere further along the spectrum.
Starting Points
-
Seated Good Morning
The easiest and safest of the regressions. Have a seat on a sturdy bench or chair. Full-length prosthetics are recommended here, as they will be your base and ultimately allow you to balance while performing this movement. If you don’t have full-length prosthetics with articulating knees, you can perform this with stubbies or without prosthetics, but your range of motion will be limited.
Assume a sturdy upright posture. Situate yourself at the end of your seat – if you have articulating knees, they should be bent at 90 degrees with your feet flat on the floor. Feet should be positioned a little bit wider than the shoulders to allow for an adequate range of motion.
From here, it’s just a matter of leaning forward while keeping a neutral spine. You should hopefully be able to attain about a 45 degree angle with your torso compared to the ground. Be sure to keep your shoulders and chin tucked back as well, so that your entire spine, not just your lower back, remains neutral.

At the end of your range of motion you should feel a slight stretch in your glutes (butt), as well as the backside of your upper thighs (hamstrings). You may also feel a stretch in your lower back. This isn’t a bad thing, but don’t push yourself beyond that range of motion.
Start with two or three sets of ten or twelve repetitions performed at a 1/1/1 tempo (one second to lean forward, one second at end range of motion, and one second to return to the start). To progress, you can add weight at either side of your body (dumbbells or kettlebells) and practice lowering the weight from waist-height in an upright seated position. Be sure to keep proper form at all times!
-
TRX-Assisted Hip Hinge
If you have access to a TRX or another suspension trainer, this can be a great way to learn how to initiate “butt first” movement.
Start by grasping the handles – you can do so at arms length or keep them close towards your body, but I feel as though keeping them close provides more secure balance as well as preventing you from incorporating your arms unnecessarily. From here, step back just so that there’s some tension in the straps, focus on pushing your butt back and achieving some knee bend. You’ll want to keep your lower back “packed tight” and flat-as-a-board here, as well as weight focused back on the heels. Try not to allow your arms to do any pulling for you
-
Wall Romanian Deadlift (RDL)
You will need to be standing, wearing full-length prosthetics, preferably with articulating knees (or your own knee – if you’re a single AK or BK amputee, make sure to match knee angles between your sound side and your prosthetic). This movement is possible to perform with stubbies or short prosthetics with no knee, but your range of motion will be shorter than if you’re performing with knees.
Stand with feet about shoulder width apart (challenge: go narrower as you progress and gain confidence), with your heels 12-18″ away from a sturdy wall or beam. This distance will need to be considerably shorter if you are wearing stubbies, probably less than a foot away from the wall.
With an ever-so-slight bend to the knee, press your butt back until you touch the wall. Make sure to keep your entire back straight. This will require you to ensure your core is tight (remember: bracing as though someone is about to punch you in the stomach). You will also need to keep your shoulder blades pulled “back and down” to prevent the arms from falling forward and rounding the upper back.
Again, three sets of ten or twelve repetitions performed at an even tempo will do the trick here. You should feel the movement in your hamstrings and glutes (back of the thighs and butt) as well as a slight stretch in the lower back. Check yourself out in a mirror or film yourself as you’re performing this movement to ensure that you’re not compensating by rounding your back or shoulders
-
Dowel Rod/PVC Hip Hinge
This is more of a “form check” before progressing to picking objects up off the ground. While this is not necessarily anymore difficult than the preceding Wall RDL. you should have more confidence in your balance if you’re performing this movement, as neither hand will be readily available to catch yourself in the event of a fall.
The process is essentially the exact same as the Wall RDL movement, except this time, you will be grasping a dowel rod, PVC pipe, broomstick, or some other object in your hands, behind your back. You should be certain to line the rod up with the middle of your back, directly over your spine, and your entire back should remain in contact with the rod through the entire range of motion. As well, the back of your head should be in contact with the rod at all times.

2. Knees are bent
3. Butt is pressed backwards.
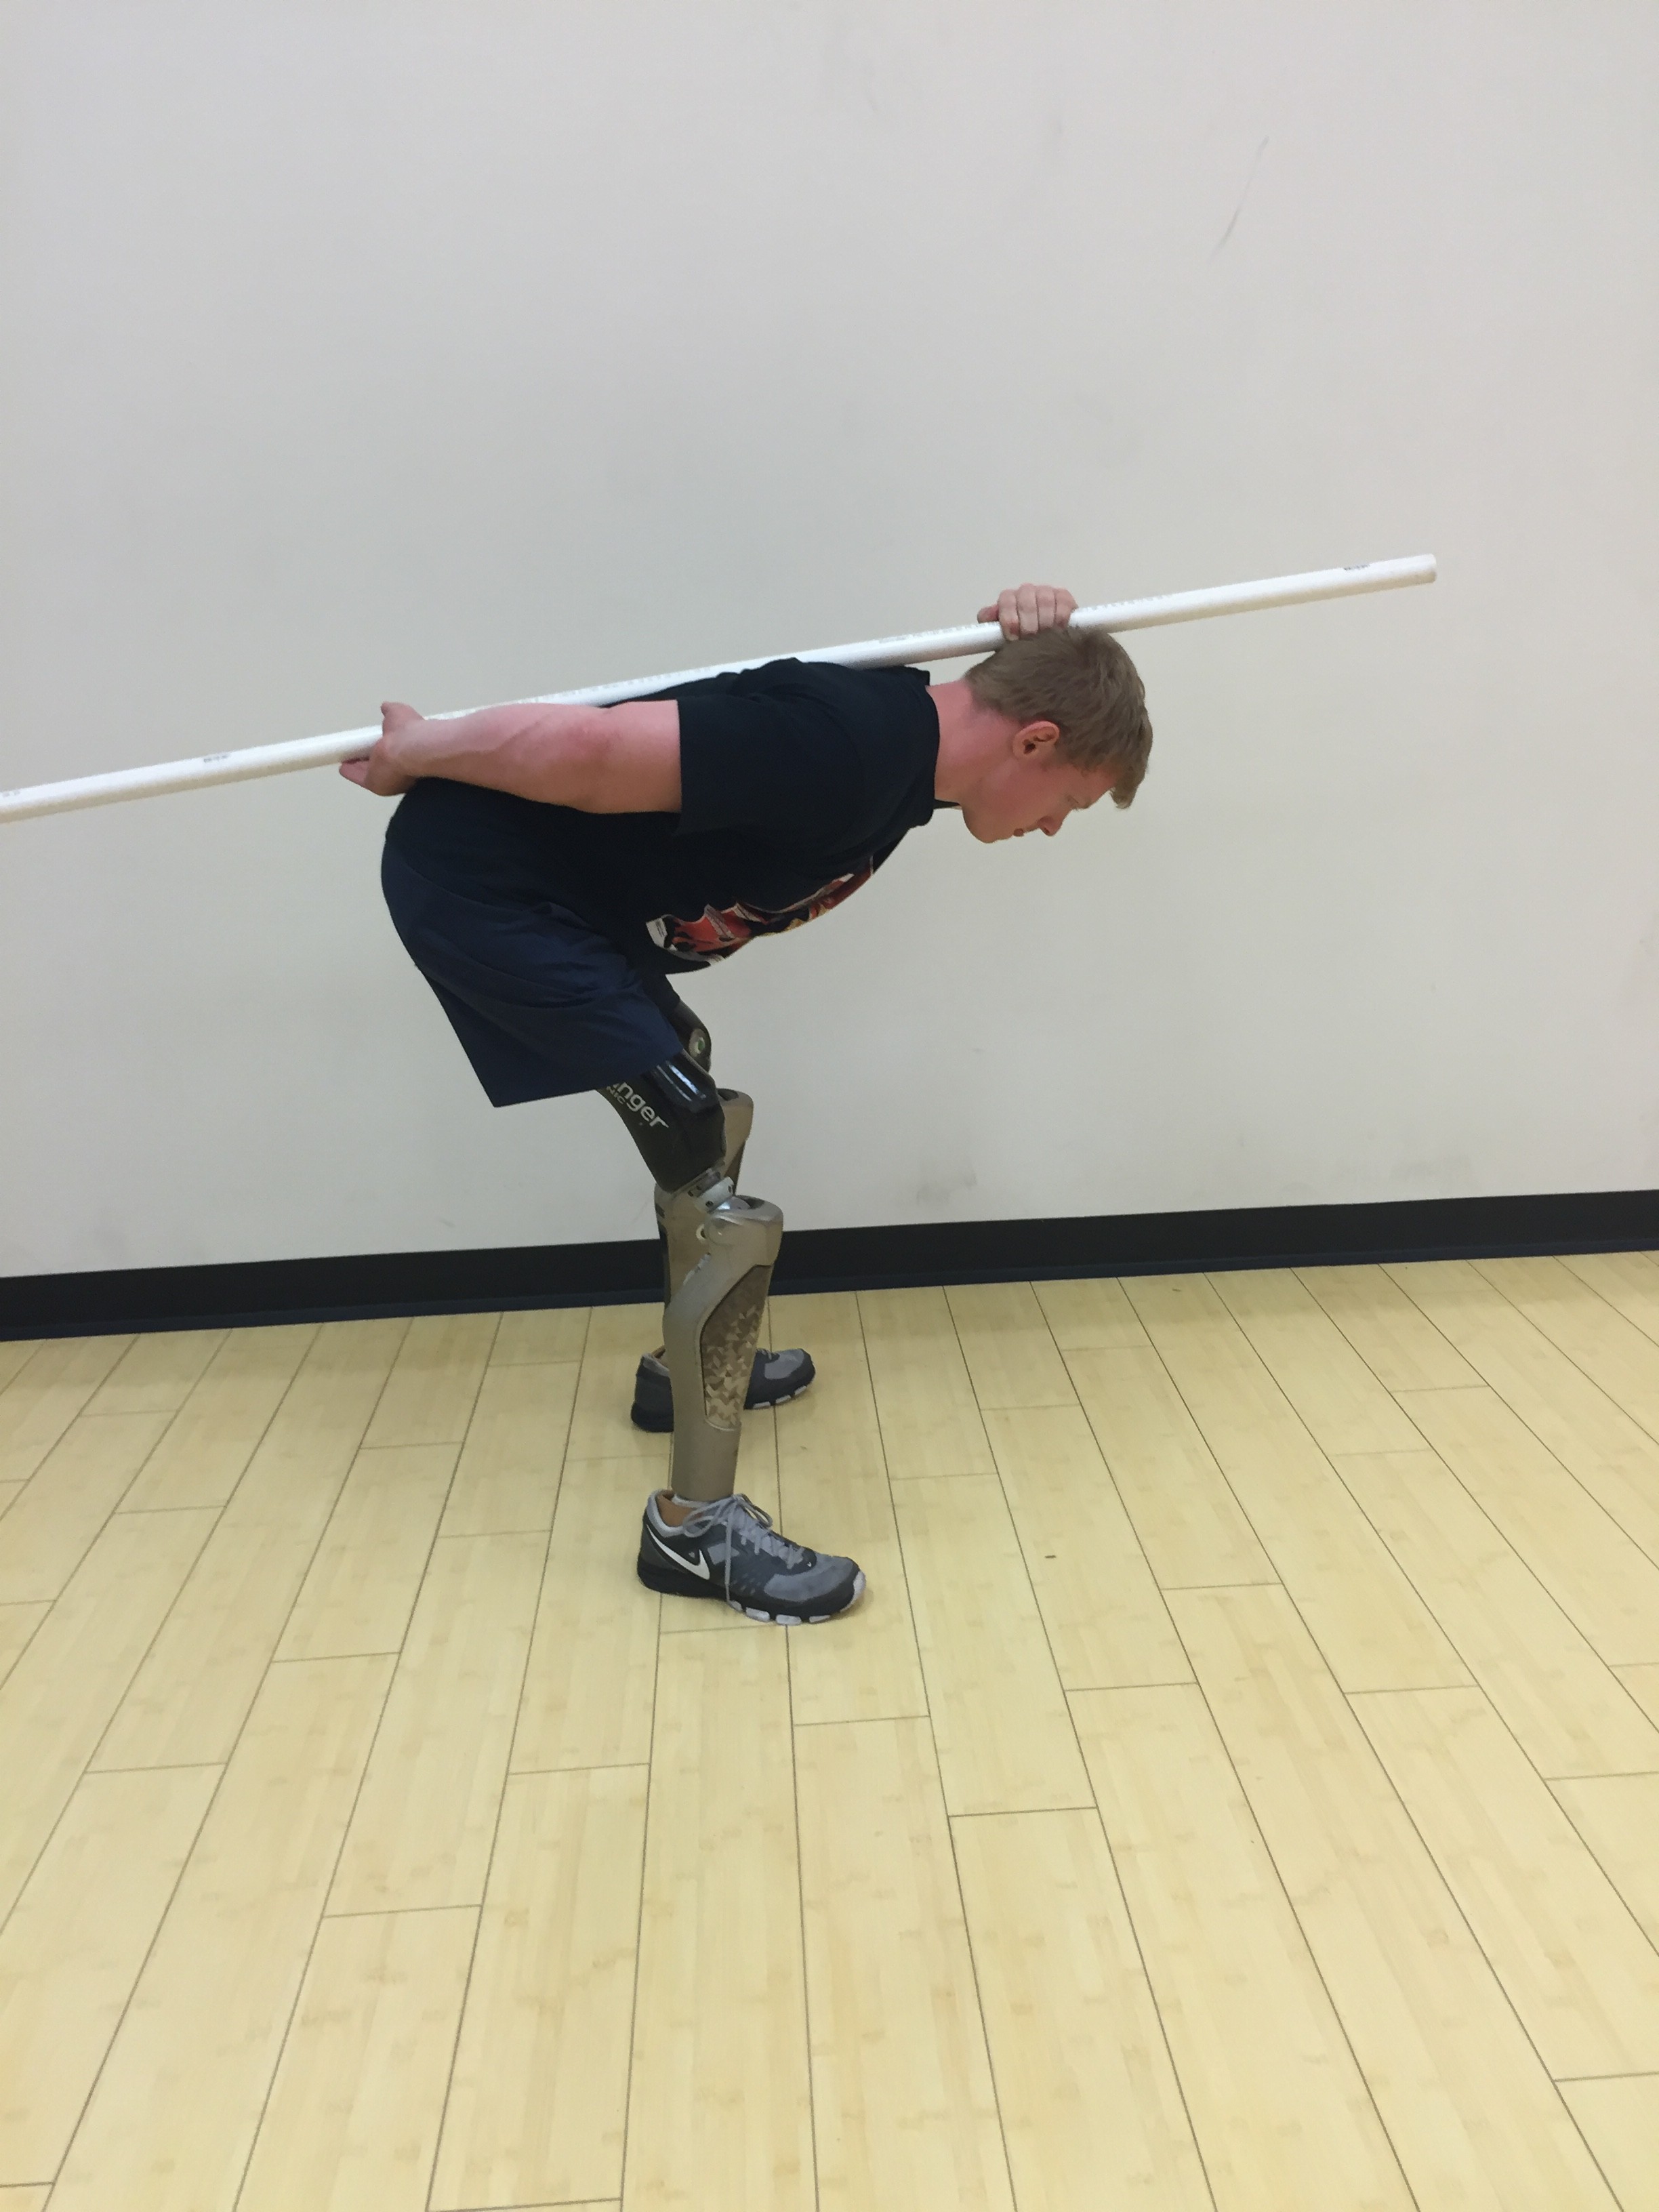
The Dowel Rod/PVC hinge works well as a quick assessment tool as well. If you’re unable to perform the entire movement without breaking total contact with the pipe, correct it before pushing into any other progressions!

Where to progress?
-
Actually picking things up from the floor
This might seem obvious, but the overall goal in practicing these movements, is to get better at picking items up off the floor, while maintaining good balance and preventing injuries. Like any other movement that must be trained or re-trained as a lower-limb amputee, picking things up off the floor is a skill and needs to be practiced dutifully if you are going to be successful and functional.
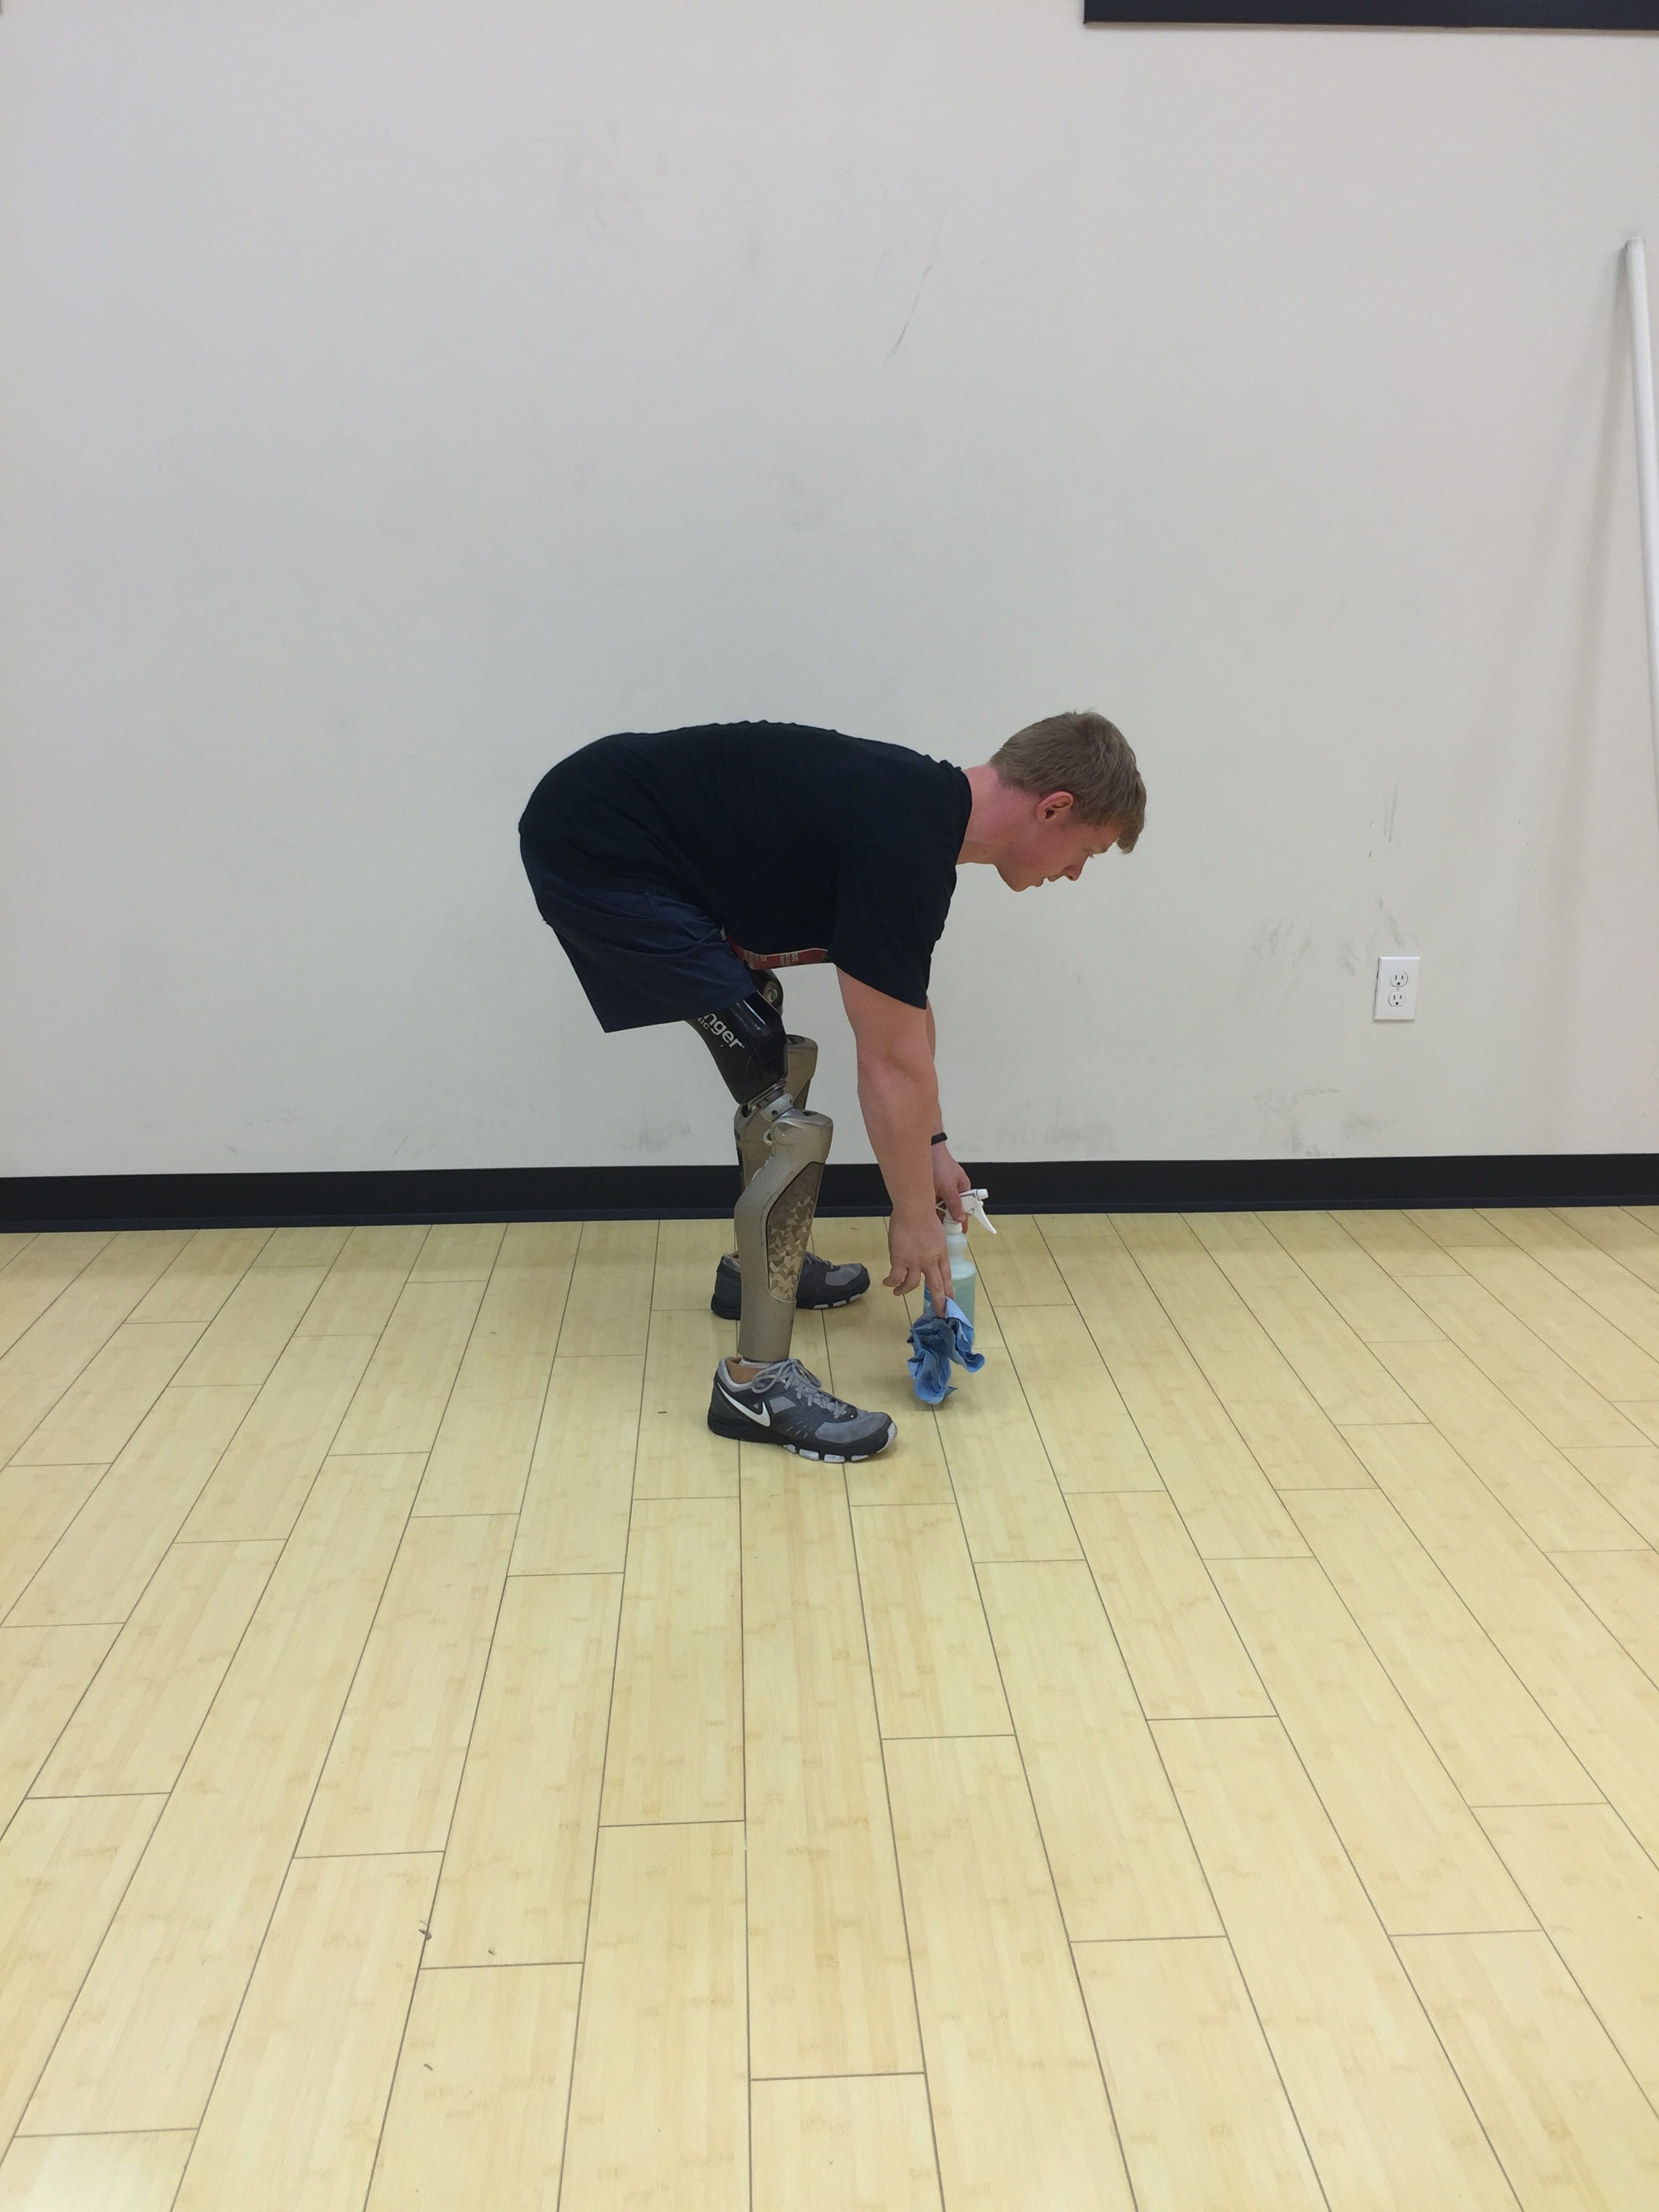
Whether you’re in the gym or not doesn’t matter, if you’re not able to pick things up off the floor, you’re not functioning in daily life. You shouldn’t need to resort to assistive devices (grabbers, other people, etc) to function daily – those tools, other people, and so on – won’t always be there for you. So, you may as well get with the program!
Challenge yourself, get out of the box with your thinking – if you drop your keys, challenge yourself to pick them up. Practice maintaining proper form. If someone around you drops $20, pick it up for them (just don’t take it with you). Do it right!
Bonus Points
The below recommendations are progressions from the basic bodyweight hip hinge, and will help develop and strength, they are listed in order of easiest to most difficult.
-
Traditional Deadlift
The traditional deadlift is something that I usually teach all able-bodied clients early on into their training. It’s obviously an extremely functional movement, as we have seen. For amputees, the set-up is going to be similar to that of an able bodied person. A traditional deadlift can be done with a barbell, kettlebell(s) or dumbbell(s). The kettlebell or dumbbell is a great starting point for an amputee, as the weight is concentrated into one area that can be placed directly below you, rather than having to set up with a barbell which will act as more of a balance challenge.

The most important issue behind training the kettlebell deadlift as a lower limb amputee is (funny as it may sound) leg drive – being certain that you’re initiating the movement through your legs, rather than lifting with your arms and torso. The best way to think about this is to keep your shoulders and hips moving simultaneously.
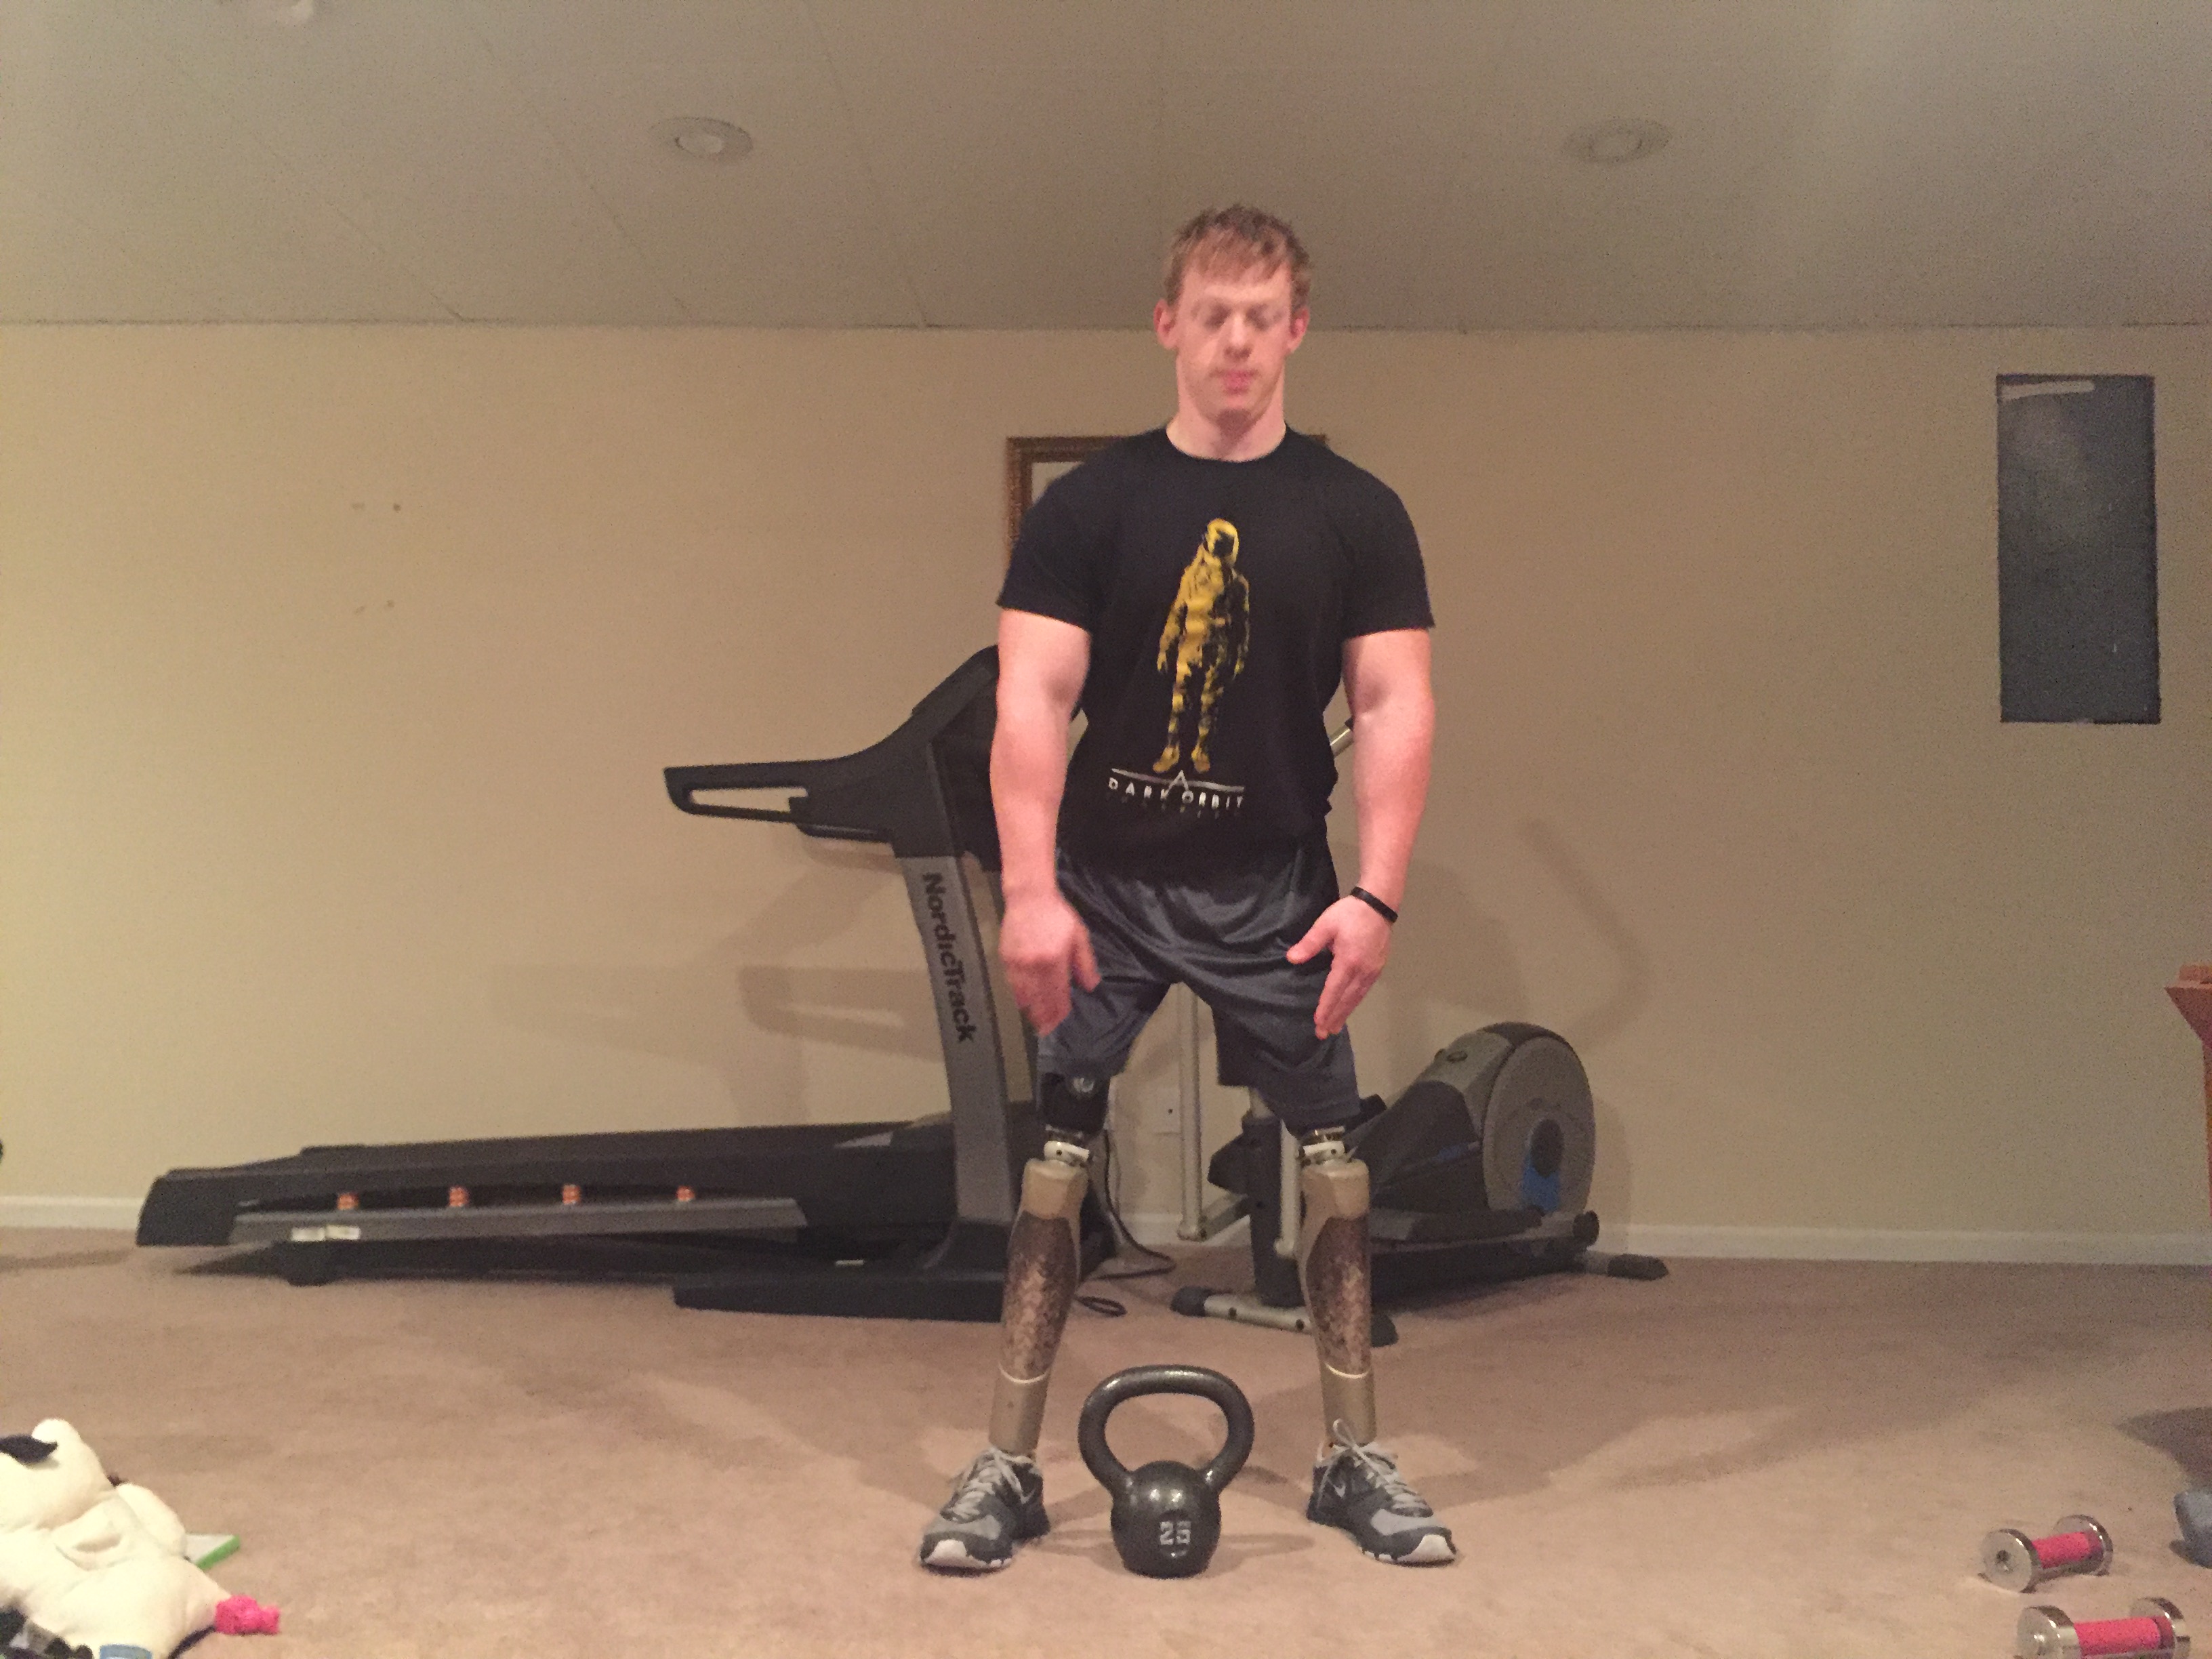
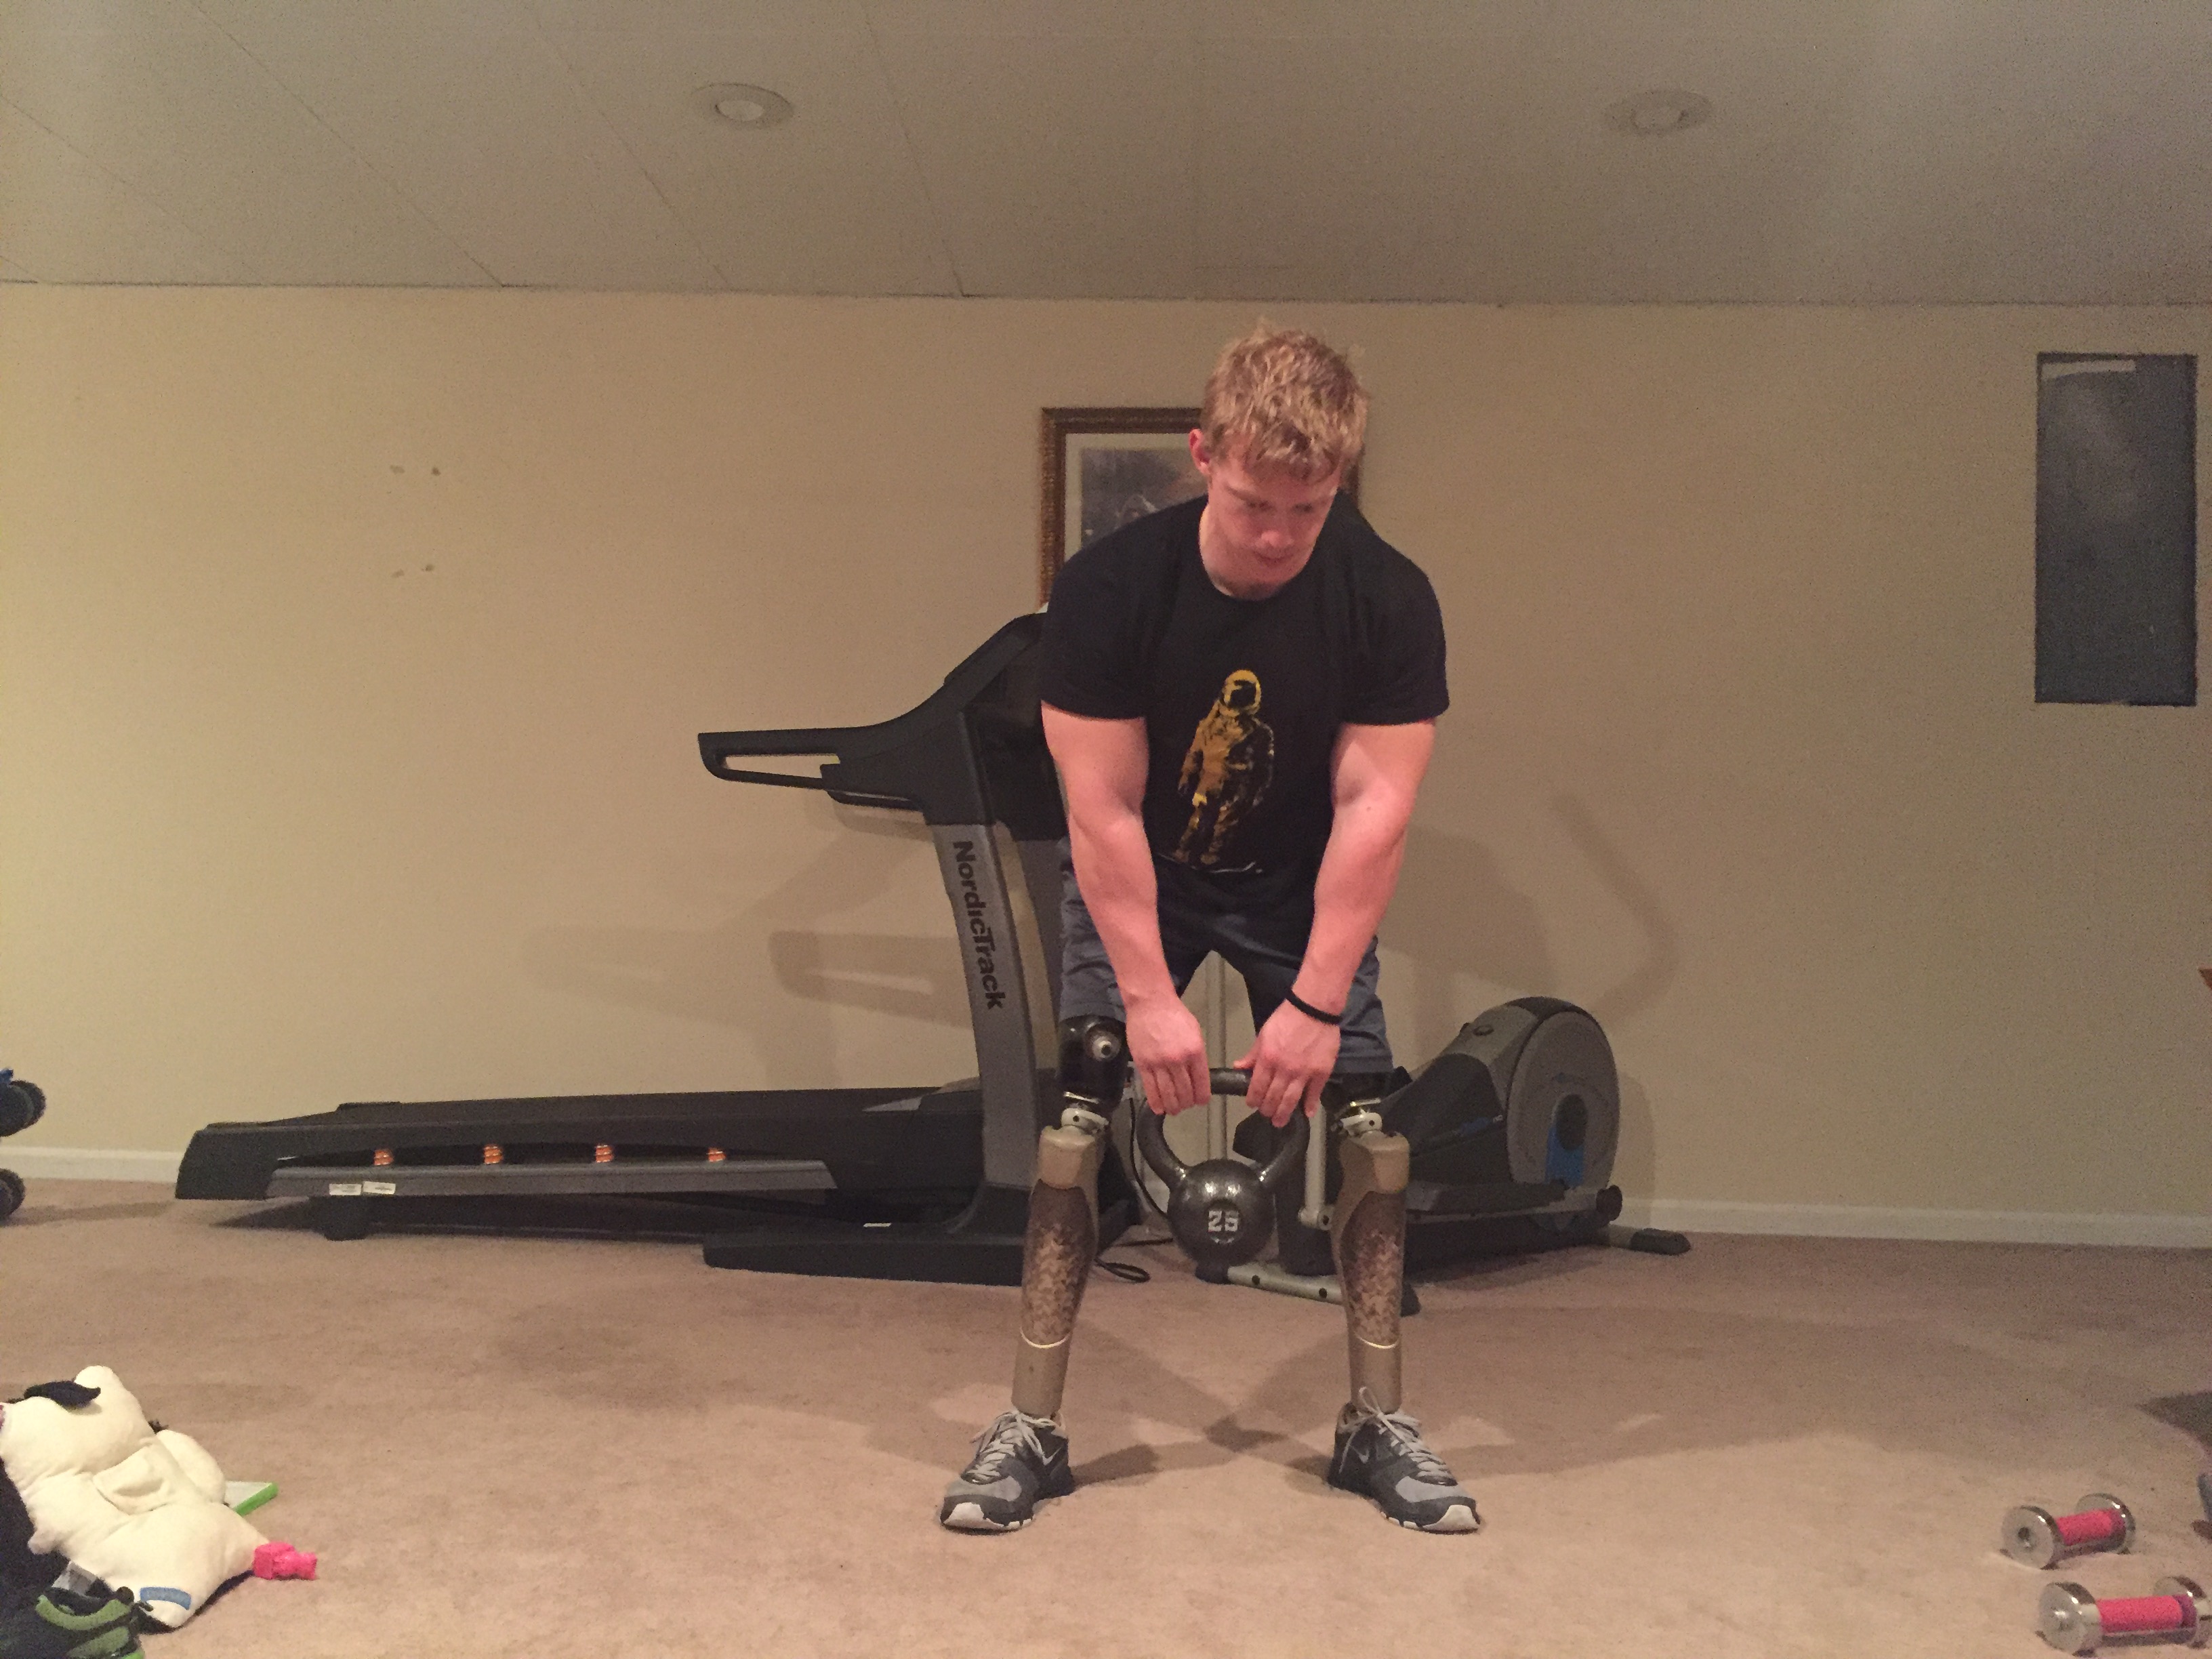
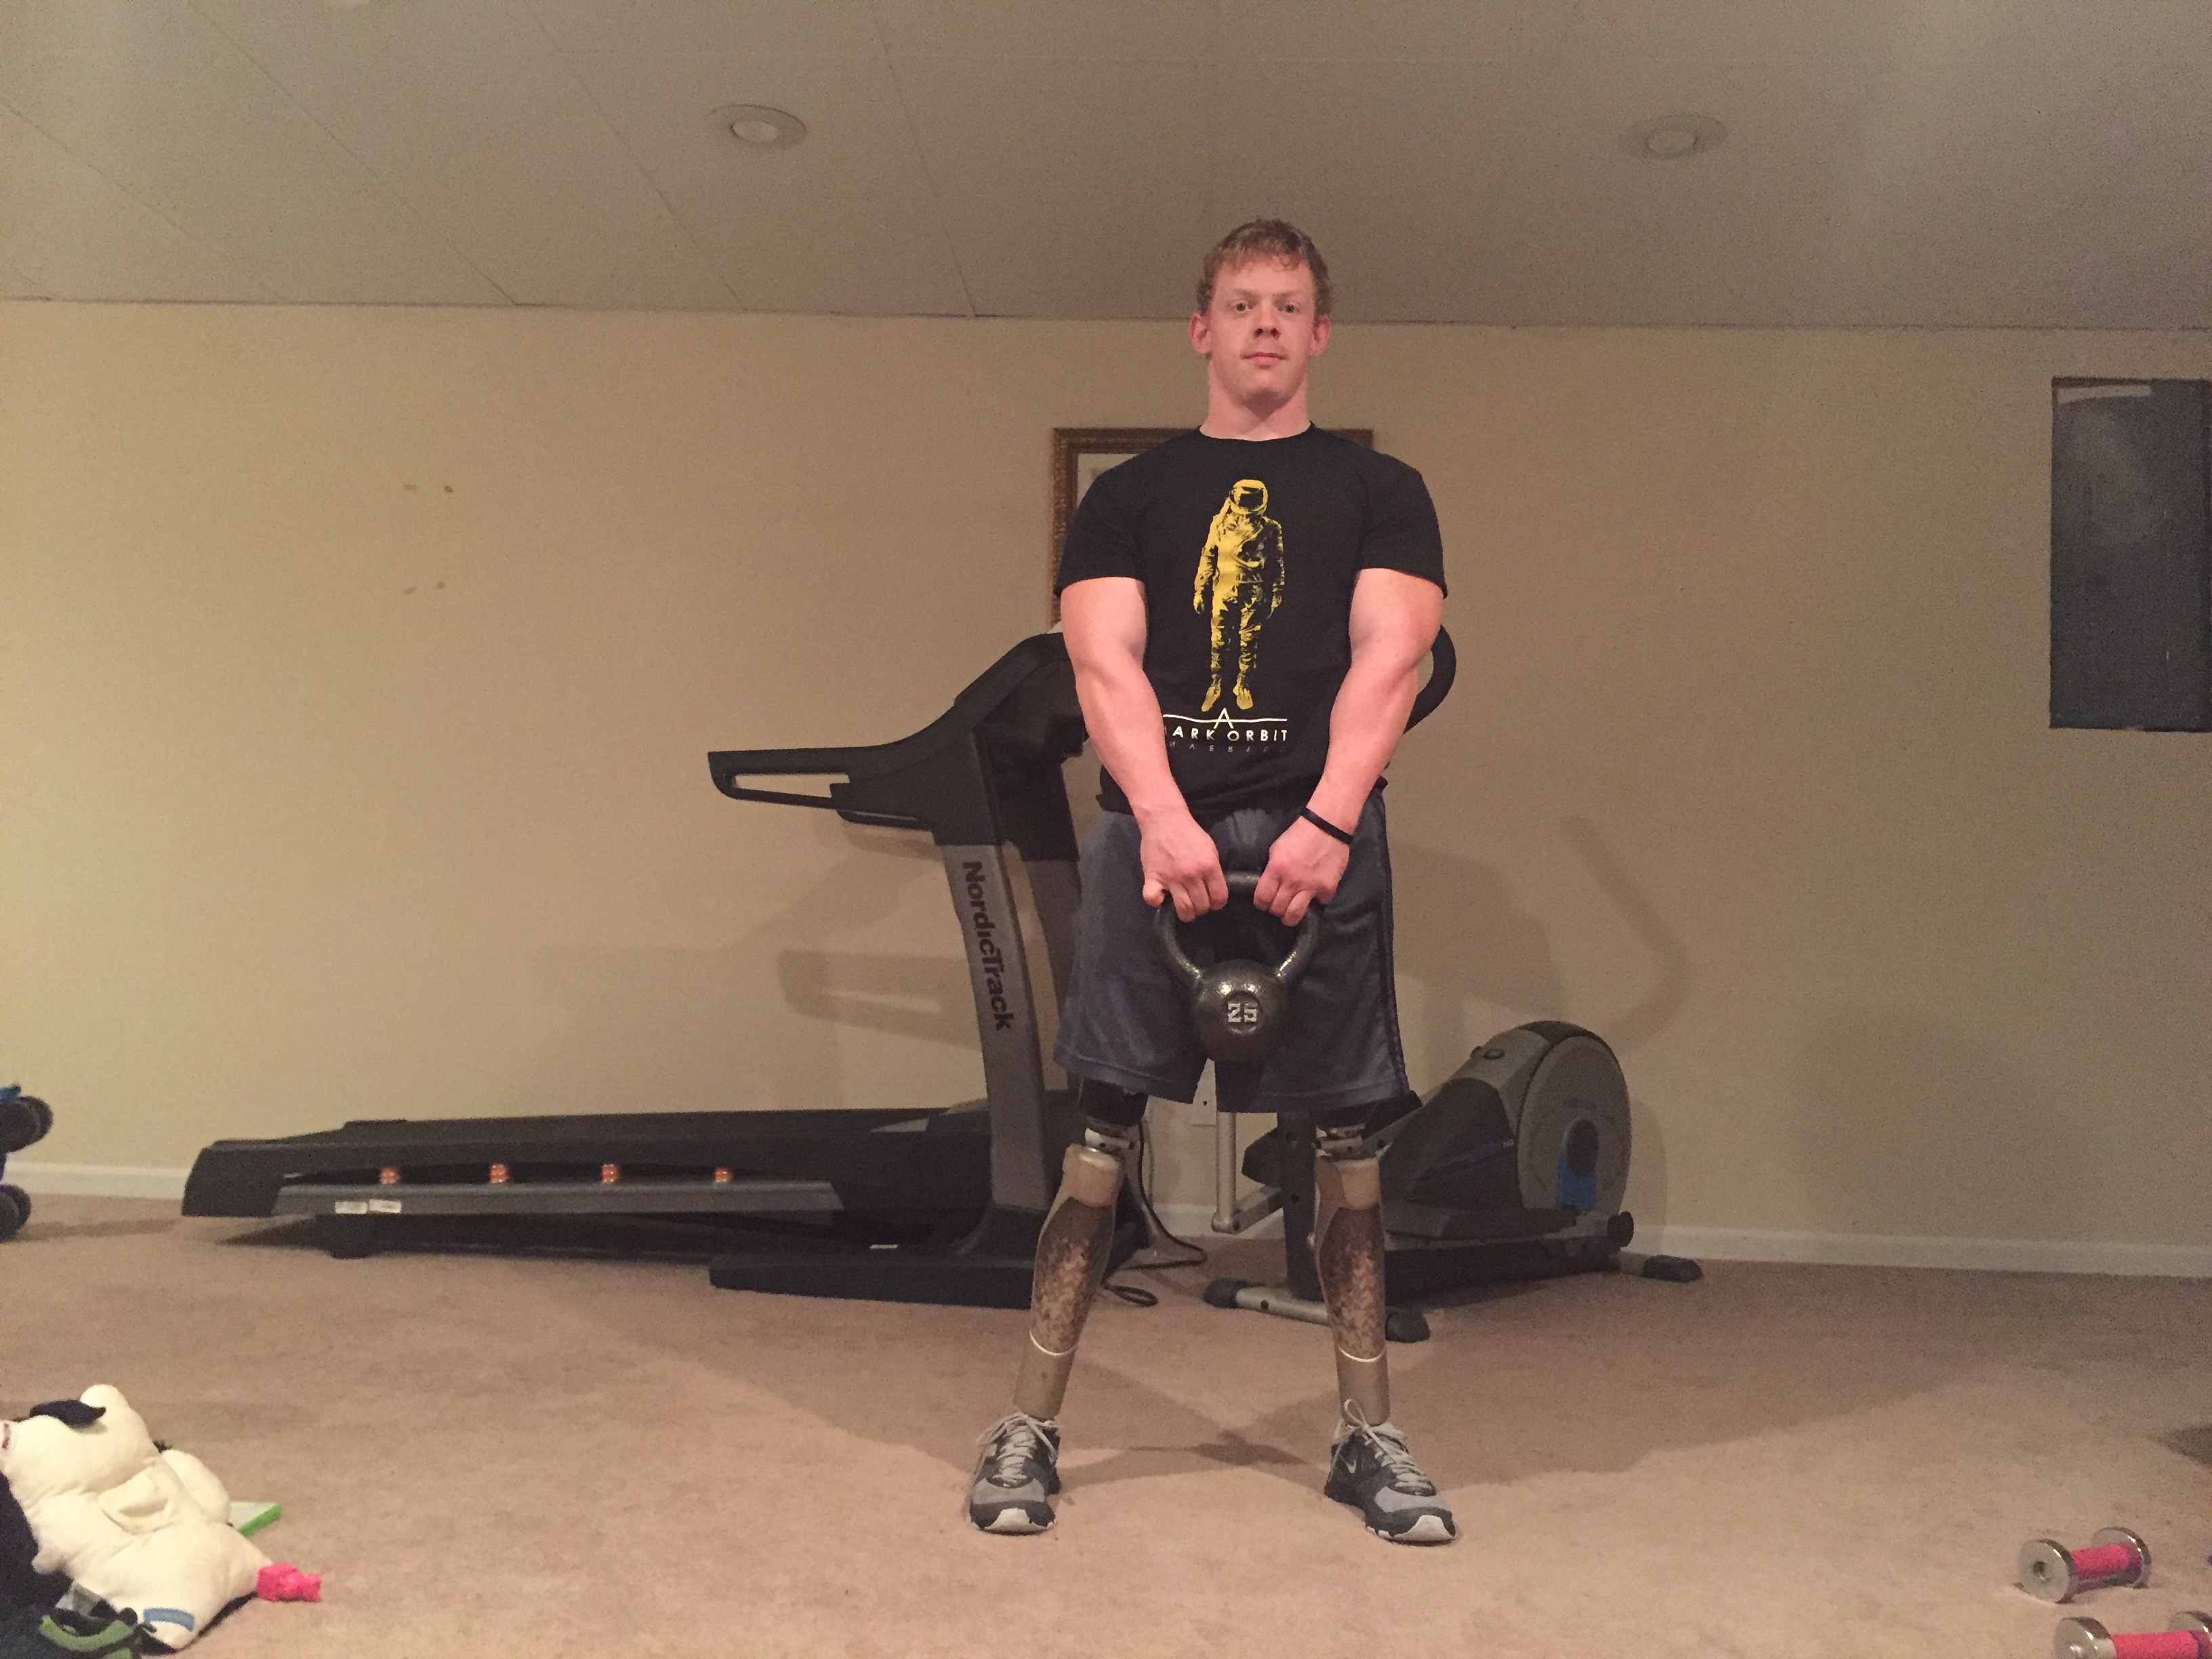
Helps to give an extra squeeze to the buttcheeks here (for full hip extension) – just be certain you don’t rock forward and extend the low back.
All other tenets of the lift remain the same as the hip hinge/your process for picking items up off the ground. Knees bent, hips back, neutral spine and head position.
-
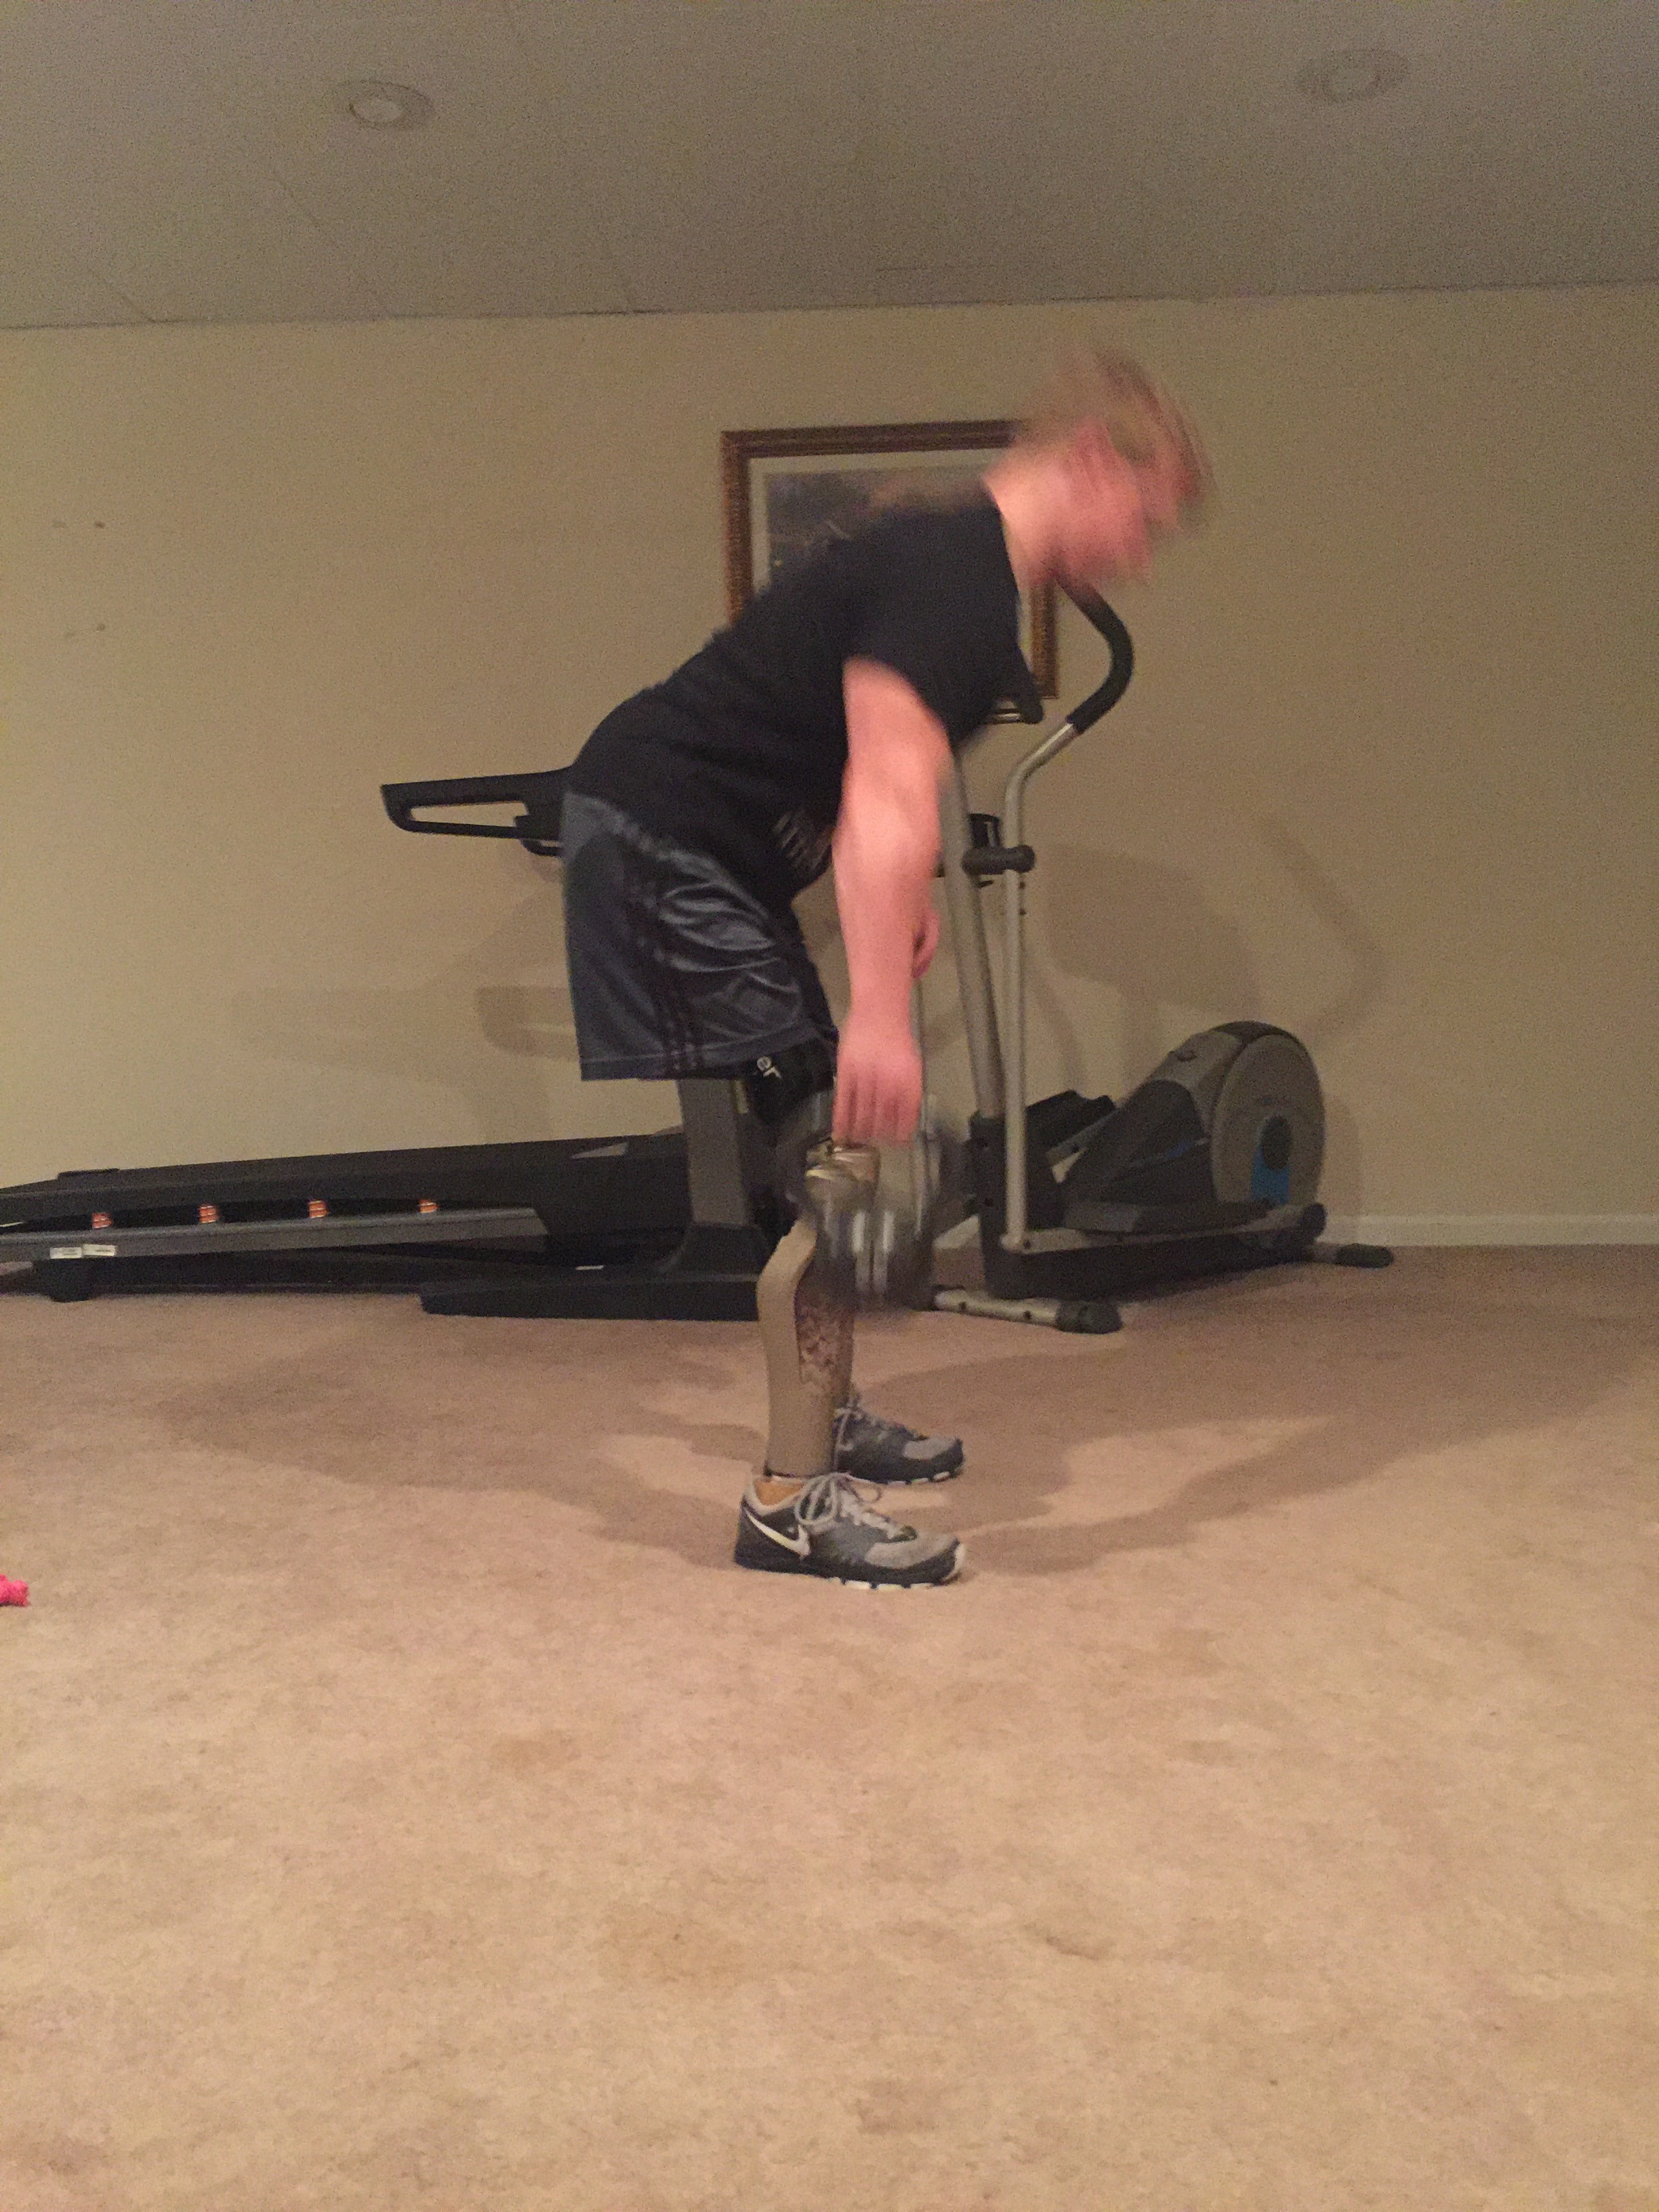
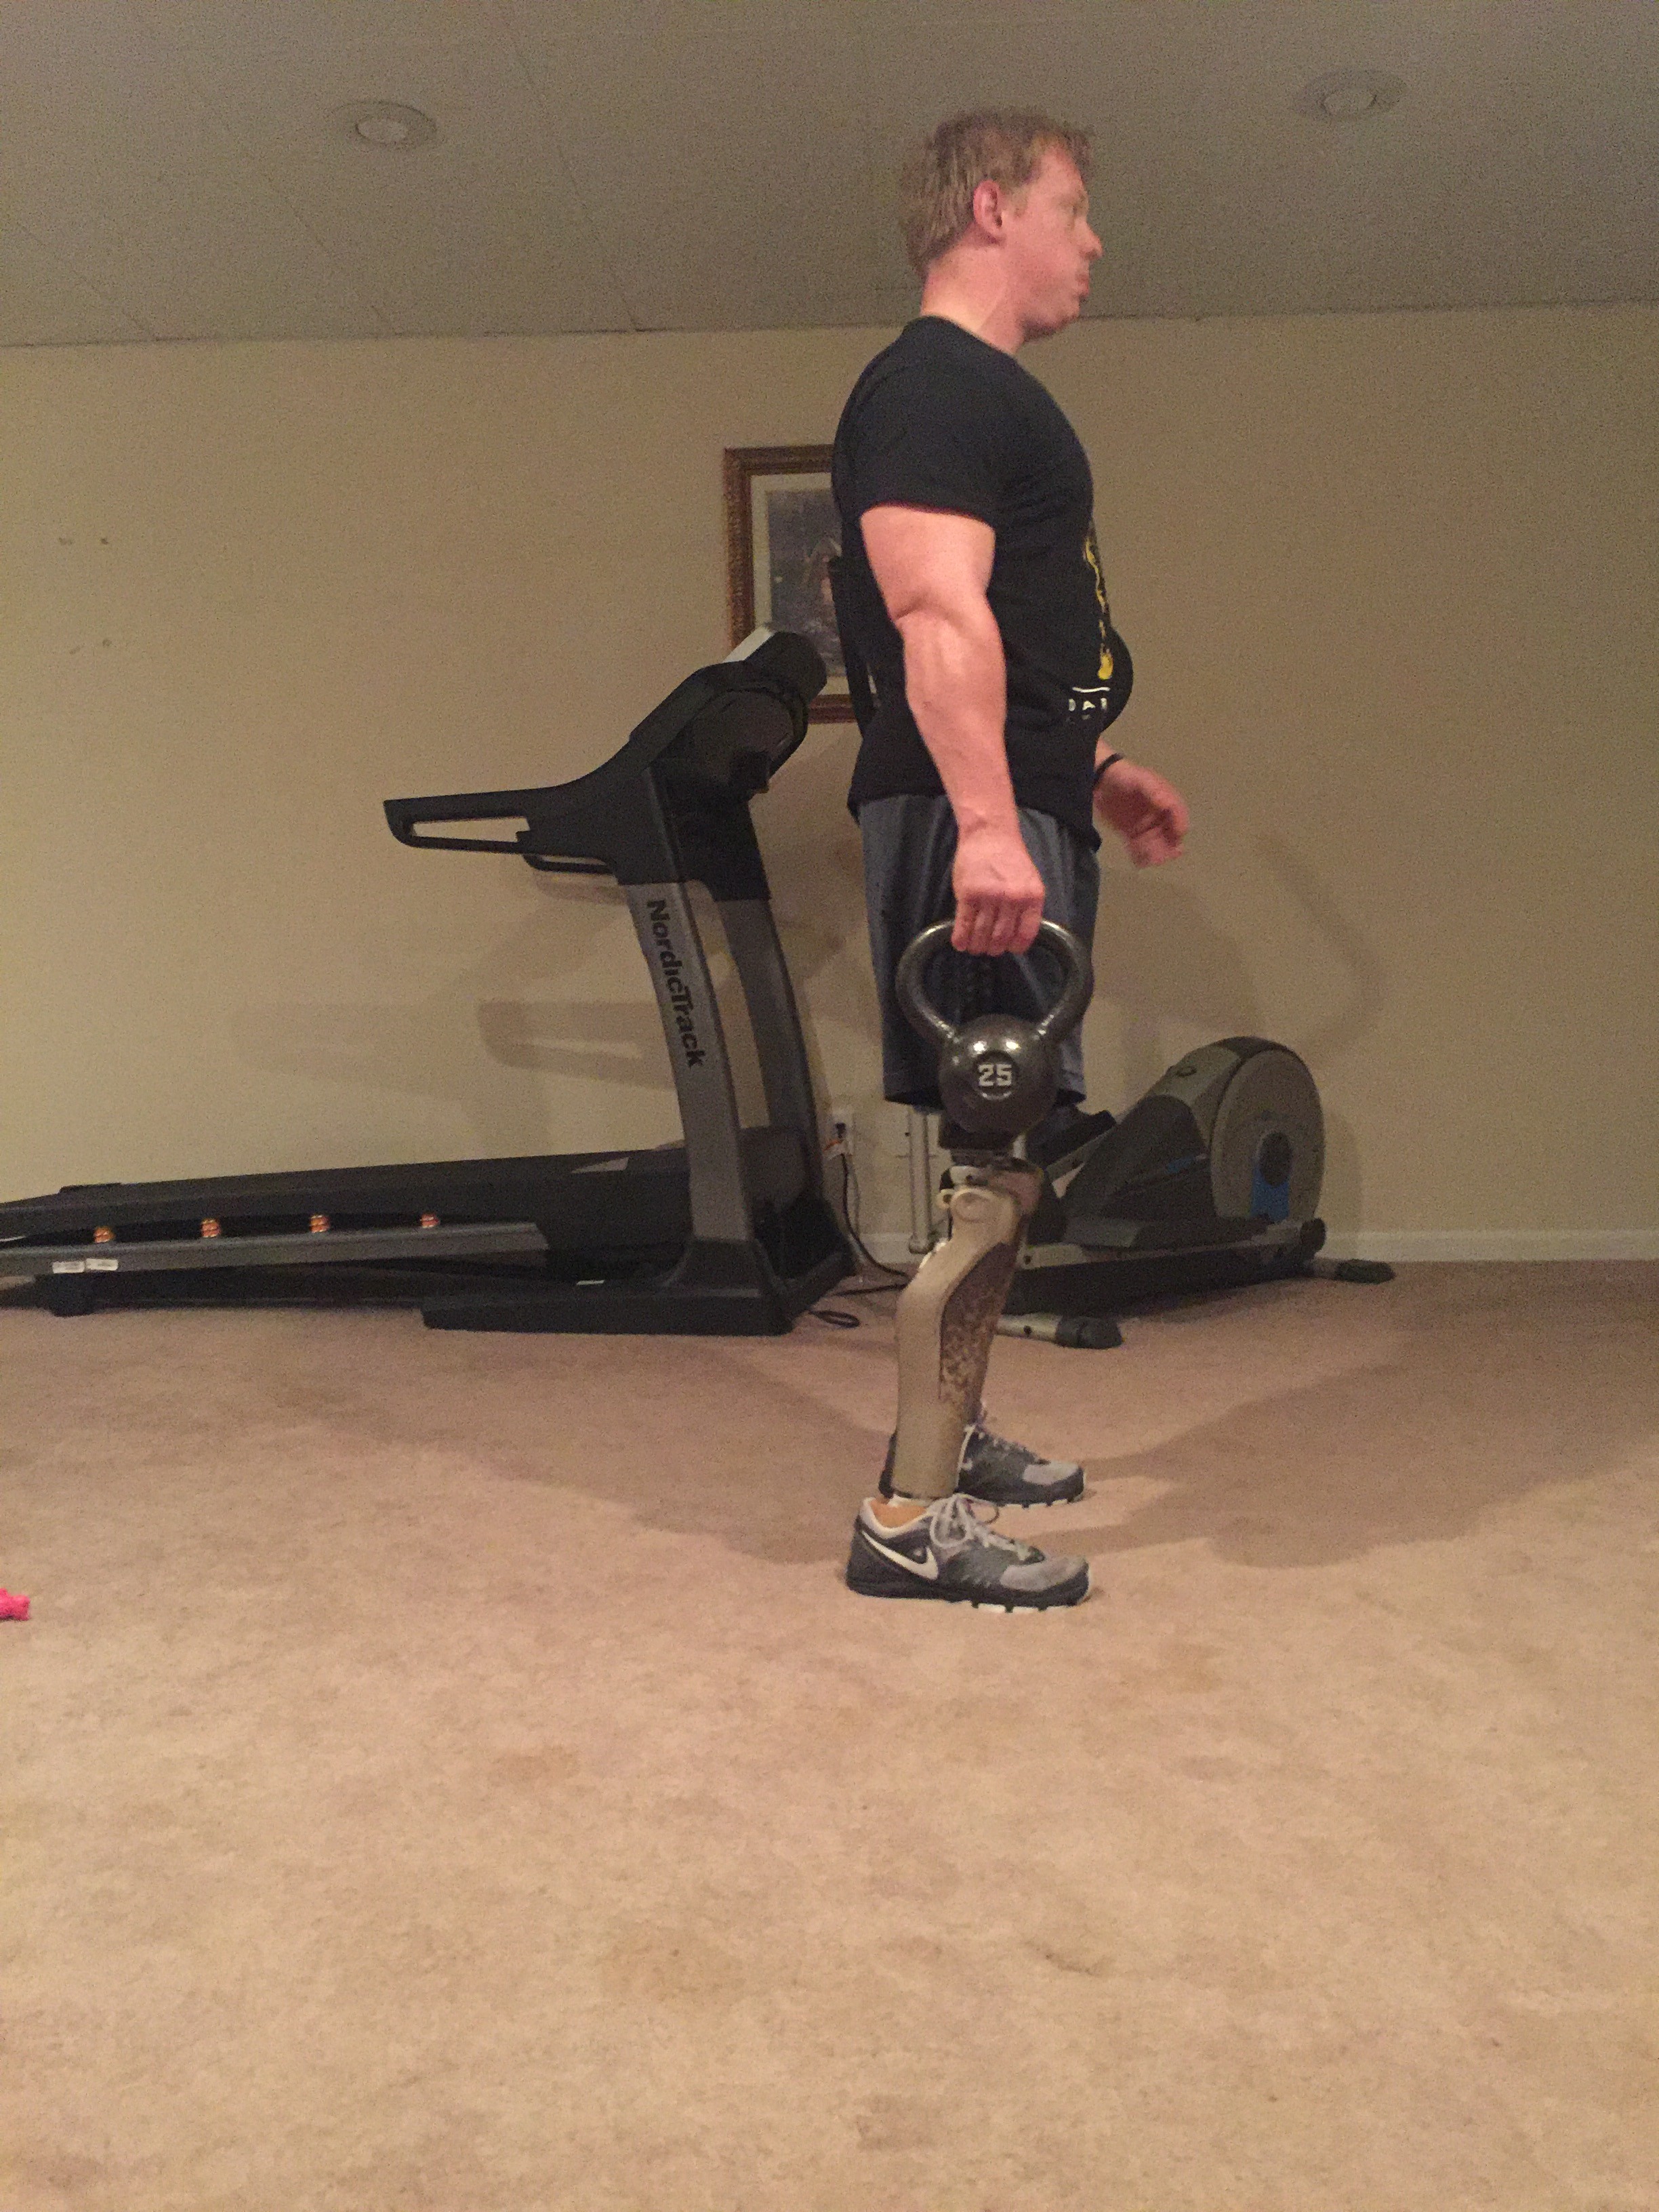
Single-Side/Suitcase Deadlift
This movement can be executed with a kettlebell or dumbbell, and follows the same ideas as the rest of your hip hinges, except this is going to be a core challenge as well. The idea here is to keep your entire back in alignment (by concentrating on bracing your core) while picking an object up on one side of your body, thus simulating lifting a suitcase off the ground (hence the name). If you aren’t able to push your hips back enough, or attain enough knee flexion to reach the kettlebell without rounding your back, you can elevate the weight a few inches using a small riser/stool/yoga mats.
I’m not going to belabor the point anymore, if you don’t understand how to properly hip hinge at this point, and cannot apply it to this movement, then you need to start back at the beginning of the article.

-
Kettlebell Swings
The kettlebell (KB) swing is a movement that dominates when it comes to power in the posterior chain (hamstrings, glutes, and low back) and can be abso-freaking-lutely awesome for an amputee to develop power and athleticism (as well as great conditioning) if performed properly. A kettlebell isn’t entirely necessary, and a dumbbell (hand-weight) will suffice just as well.
The important thing to remember here is that kettlebell swings are meant to develop power AND strength. Power is the primary objective – to produce as much force as possible. However, it’s really easy to get carried away – so self-monitoring your form here is going to be absolutely crucial. Ensure that the power of this movement is being generated from your butt and thighs, not your lower back or your arms. An easy way to tell if either of these situations is happening – A) you’re feeling tightness in your lower back, or B) your arms are getting tired. Float the bell using your hips, with your arms as your guide. Be certain that you’re pressing the hips forward at the top of the movement, rather than shifting your entire body forward. As for the arms, if your arms are getting tired, you need to stop and allow your hips to generate more of the movement. Remember, power THEN strength.
I find that performing the kettlebell swing is easiest on stubbie prostheses – less moving parts means that less can actually go wrong (you’re not going to fall as easily, and if you do lose your balance, you’re pretty close to the ground so you shouldn’t be injured). However, it is possible to perform the kettlebell swing with full-length articulating prostheses, it’s just that much more difficult. It can be done, but once again – form over anything else! If you’re unable to generate quality momentum, or are falling all over yourself, it’s worth finding another route.
Wrapping it all up
Alright, if you’ve read this far, you’ve got the point. It’s extremely important, as an individual with an amputation(s), you learn how to properly hinge at the hips. The functional carryover is absolutely immense, and along with the injury prevention side of things, it’s virtually impossible to deny the need to learn such a simple maneuver. Be deliberate and calculated in your practice of these skills, as they will carry over into the rest of your life and how you function on a day-to-day basis. As always, if you need any help at all with anything listed in the above article, be sure to reach out to me either by using the FitBunch Facebook page or emailing me at trevor@fitbunch.net
PS If you’ve read this far, reward yourself today by taking an additional $5 off any purchase in the FitBunch shop! Use coupon code FBFAM at check-out to receive 5 bucks off anything!